← All Guides · Floral Gatherings Download Digital PDF Download Print Version

A free, step-by-step guide to floral foam installations, from the team behind Southern Ontario's DIY floral arrangement parties.

How to make Floral Foam Installations

Create centerpieces, aisle flowers, ceremony arrangements, and ground installations using floral foam and plates.

Quick Guide

Time approx. 30–60 minutes per plate
Group Size 2–3 people per plate
Stems 30–50 per plate

Inspiration

A low, lush floral centrepiece with roses and ranunculus, greenery hiding the base completely
A low, lush floral centrepiece with roses and ranunculus in a rounded bowl shape
A long, low floral installation of roses and ranunculus arranged like a table or aisle runner

Materials

Shears Waterproof floral tape Floral foam Plastic plates Bucket Finish Spray Flower food Knife Popsicle sticks included not included optional

Consider Your Arrangement Type

Floral foam holds water and sits on a plate. Stems are inserted into the foam at different angles to stay hydrated. You can make a variety of arrangements with foam — below are some common uses:

Ground, table, or aisle installations: Use one or more floral foam bricks taped on a plate to create organic, lush arrangements that sit on a flat surface.

Centrepieces and table runners: Create an organic centerpiece look by ditching the vase and using foam and plates. For long tables, place leafy stems along the table and add floral foam plates in between for a connected look.

Regardless of your arrangement type, here are some general tips when working with foam:

  • Avoid removing and reinserting stems into foam, which can weaken it — commit to your stem placement.
  • For delicate stems, tape a popsicle stick alongside the stem before inserting into foam for strength.
  • Grouping flowers in odd numbers like 3 or 5 often feels more natural.
  • Consider viewing angle: centrepieces are seen from all angles, but some arrangements are viewed from only one angle, so the back side can remain simple to conserve stems.

Prepare Foam and Plates

Fill a bucket with room-temperature water ¾ full. Add 2 packets of flower food and stir.

Place floral foam with the pinhole side facing down on the water surface. Let it sink to the bottom naturally — do not force it underwater, which can trap air in the foam.
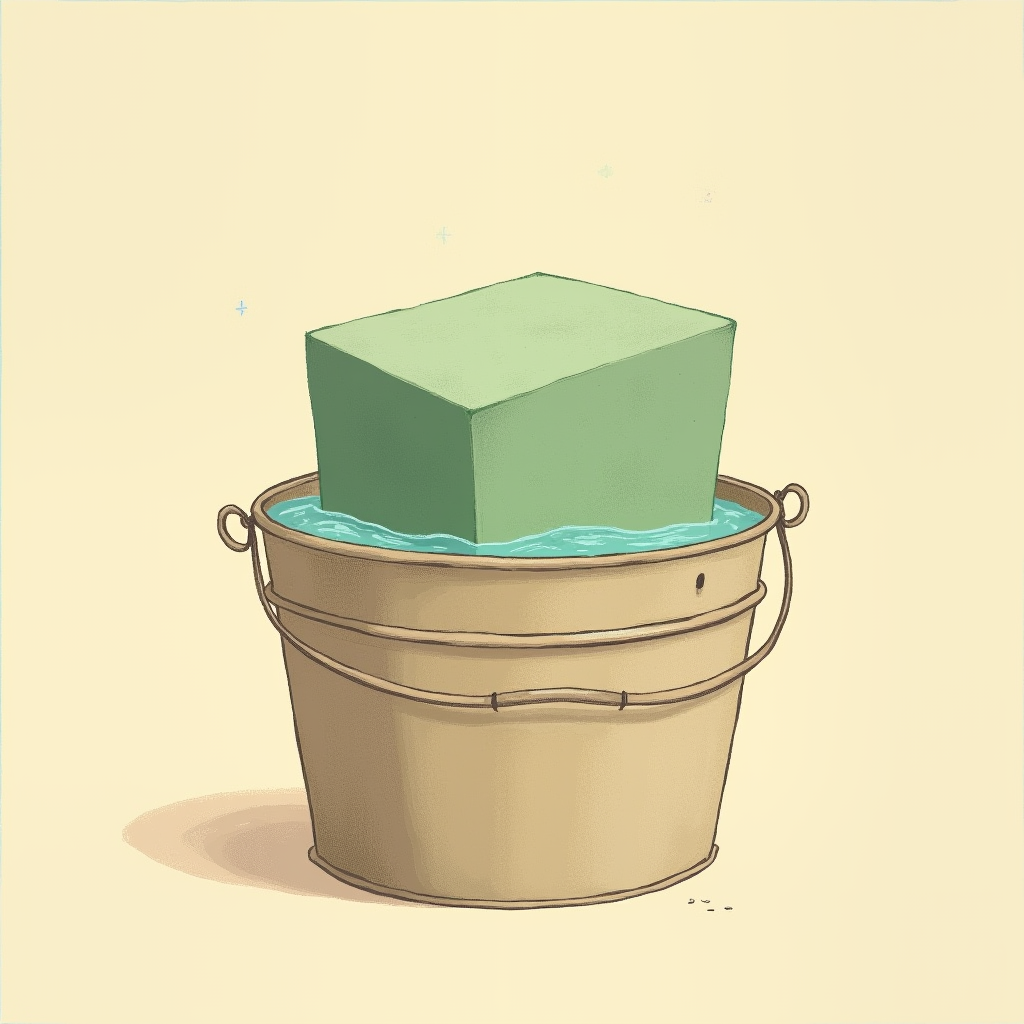
A block of floral foam floating and slowly sinking pinhole-side down in a bucket of water

Using a knife, cut the edges of the foam to fit the plate shape (if required). Secure foam to the plate using waterproof floral tape in an X pattern — make sure the tape goes around the plate for maximum hold.

For more height, stack additional foam pieces on top — you can also connect foam pieces with popsicle sticks. Secure to the plate with tape.
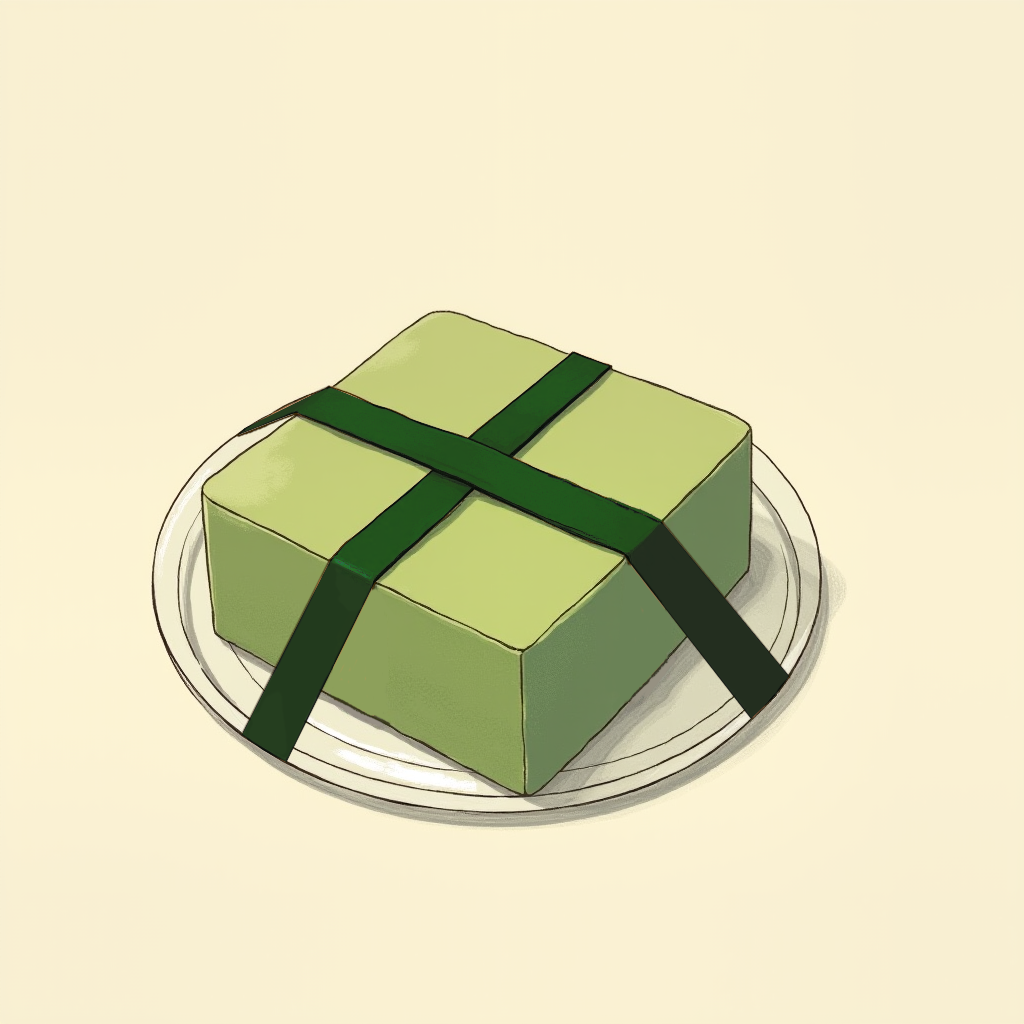
Floral foam cut to fit a clear plastic plate, secured with waterproof tape in an X pattern

Floral Foam Installations

Arrange Stems

Select and insert your base layer of stems — usually leafy stems, or depending on your look, flowers like hydrangeas. Trim at a 45-degree angle and insert at your desired height. Insert stems at different angles to create depth and movement.

Foam covered in leafy greens with a hydrangea bloom draped over the seam where the foam meets the plate

Select, trim, and insert focal flowers. Insert heavy blooms deeper into the foam for added stability. Do not overcrowd focal flowers — they need space to open.

Foam covered in varied leafy stems with roses being inserted at different heights and angles

Add filler flowers to fill gaps where foam is visible. Continue adding leafy stems, focal, and filler flowers — rotate the plate as you work.

Tip

Step back often to review shape and balance — a second opinion can help you find a design that feels right.

A delicate flower stem taped alongside a popsicle stick before inserting into foam for support
Tip

Lastly, if there are any spots of foam or plate showing, angle greenery or filler flowers downward to hide them.

Final Touches

Lightly mist flowers with Finish Spray to hydrate and preserve them.

Misting the finished floral foam arrangement with Finish Spray

While floral foam holds water, it may need additional hydration over time. Gently pour a small amount of water over the foam using a watering can.

A watering can pouring water gently over a finished foam arrangement

For events, store in a cool place away from direct sunlight until ready for transport. If you see wilted blooms, cut them off rather than pulling them out — add a replacement stem to cover if needed.

A finished foam arrangement resting in a cool, shaded indoor corner away from direct sunlight