← All Guides · Floral Gatherings Download Digital PDF Download Print Version

A free, step-by-step guide to open-faced vase arrangements, from the team behind Southern Ontario's DIY floral arrangement parties.

How to arrange an Open-Faced Vase

A classic vase arrangement perfect for guest tables, welcome tables, and home decor.

Quick Guide

Time approx. 30 minutes per vase
Group Size 1–2 per vase
Stems 20–25 per vase

Inspiration

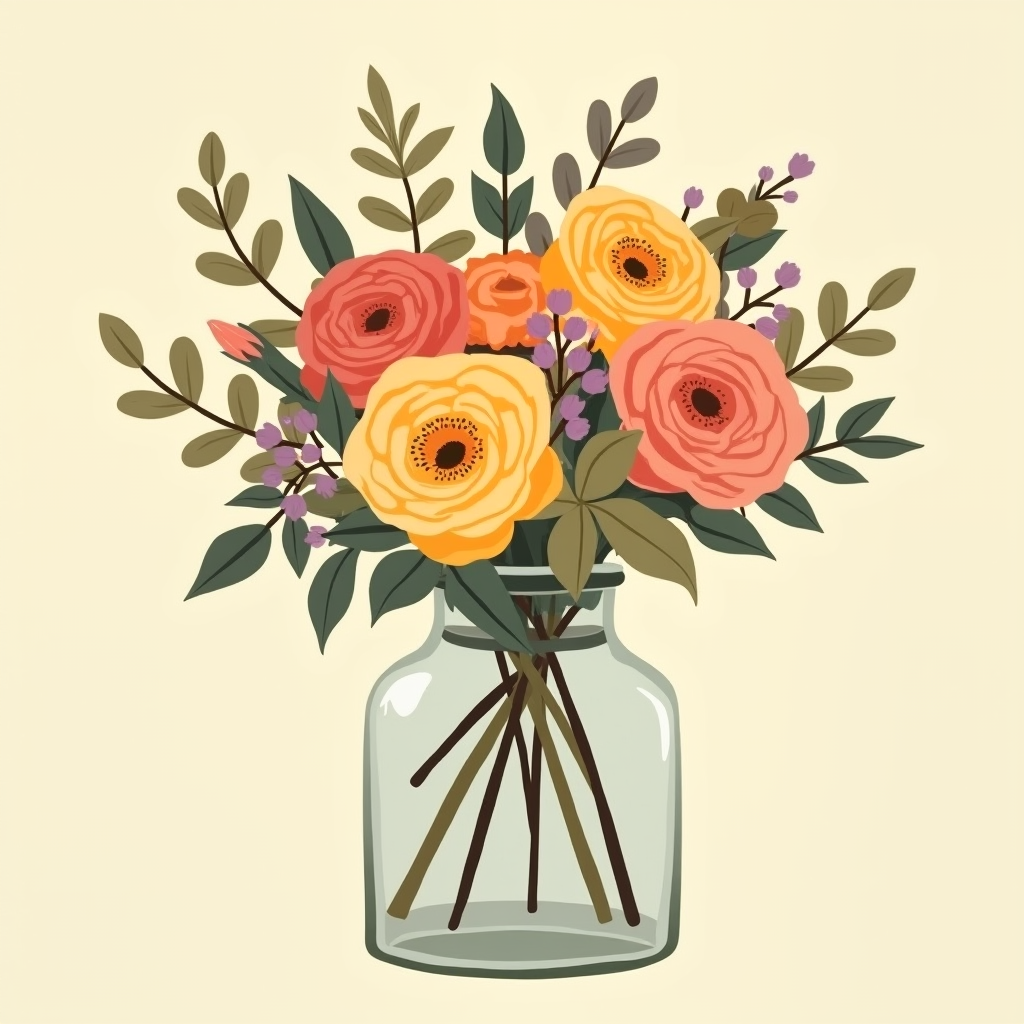
A completed open-faced vase arrangement with a round dome shape, focal blooms, filler, and a greenery collar
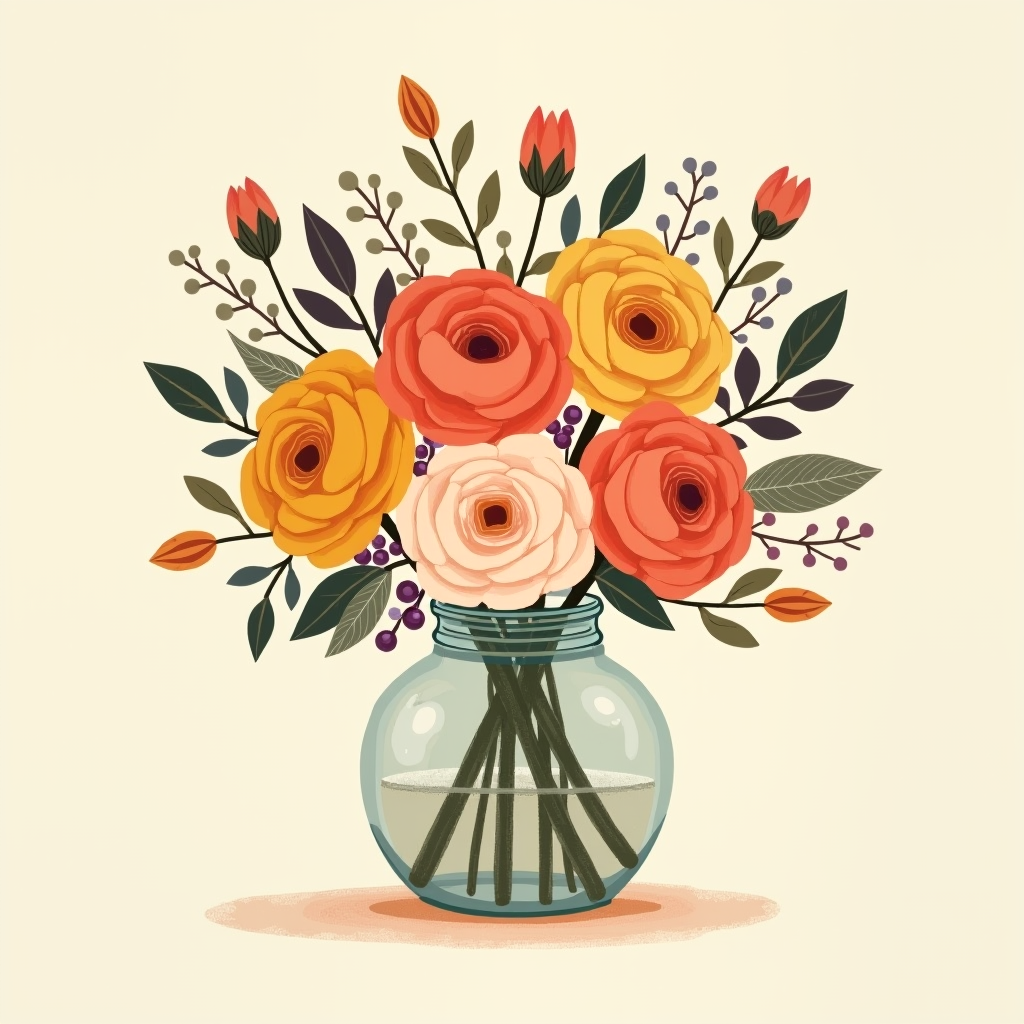
A completed open-faced vase arrangement with pink, orange, and yellow ranunculus blooms, purple accent filler, and greenery in a rounded glass vase
A completed open-faced vase arrangement with roses and ranunculus in a rounded glass vase, viewed from a different angle

Materials

Shears Waterproof floral tape Vase Finish Spray Ribbon & embellishments optional

Plan Your Arrangement

Fill the vase halfway with room-temperature water. Add one packet of flower food and stir.

Important

Glass is fragile. If moving the vase, always pick it up with two hands from the base.
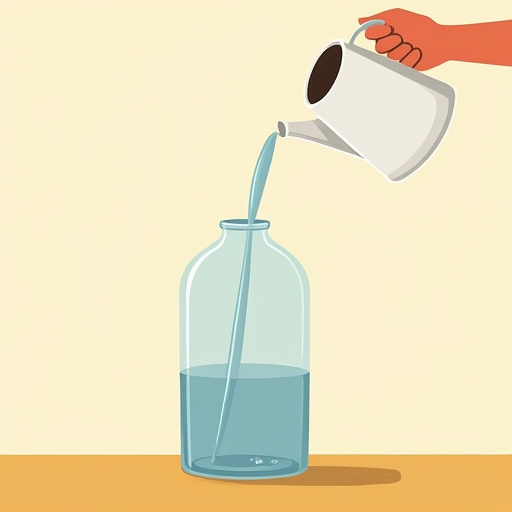
A pitcher pouring water into an empty open-faced glass vase

Create a support grid across the vase opening using waterproof floral tape. This helps hold stems in place and makes arranging easier.

Apply tape in one direction, then the other, forming a grid with openings approximately 1 inch wide.
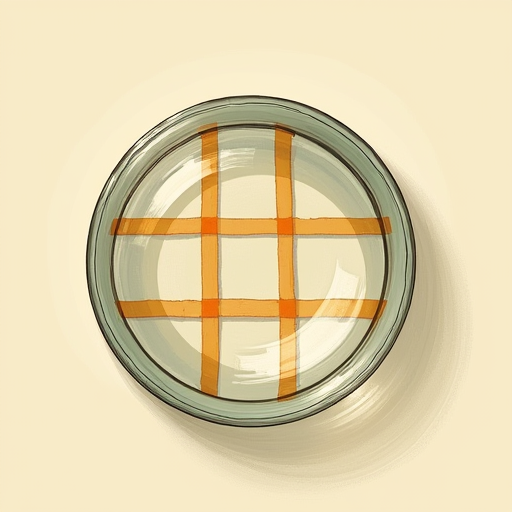
Top-down view of a vase opening with a criss-cross tape grid, openings about 1 inch wide

Trim excess tape from the rim. For added stability, wrap one strip of tape around the outside of the rim to secure the grid.

A vase with a criss-cross tape grid across its opening, secured by a strip of tape wrapped around the outside of the rim

Open-Faced Vase

Arranging Stems

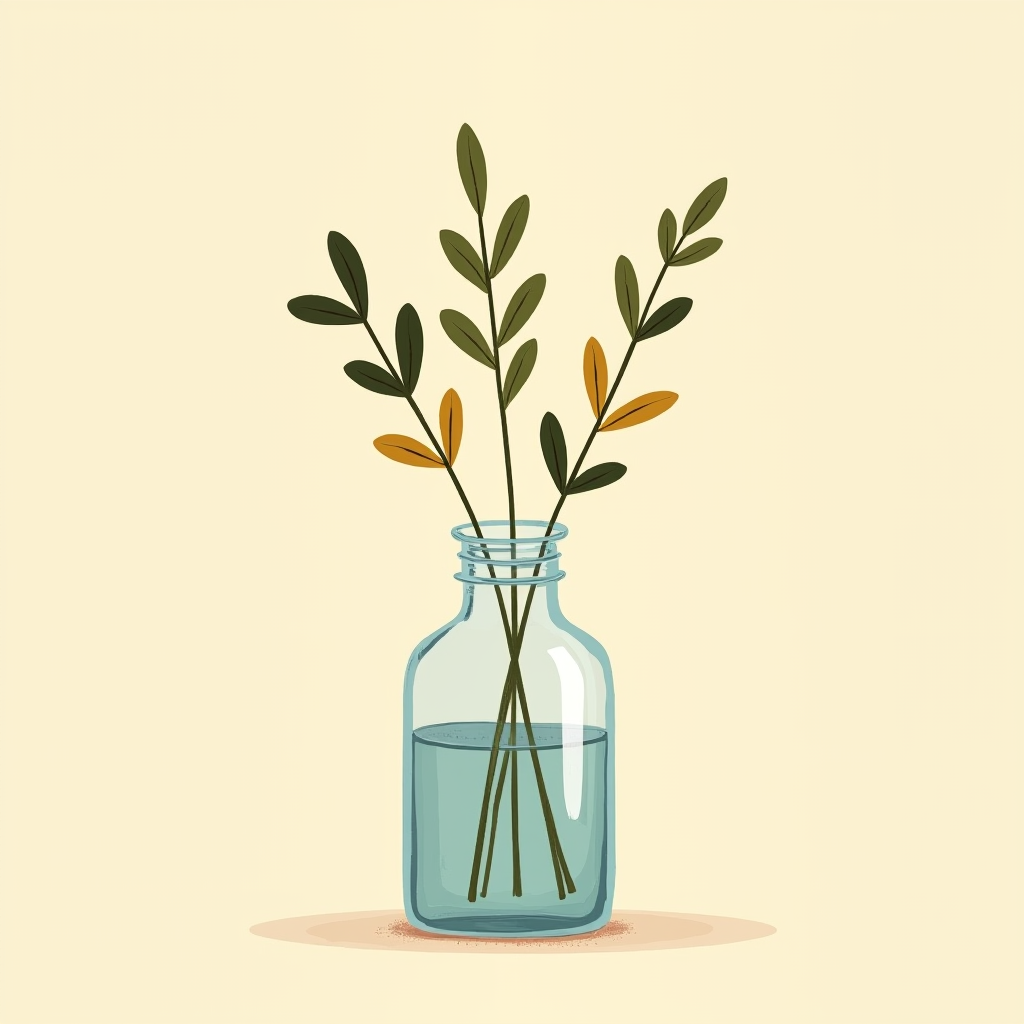
Start with leafy stems to establish the arrangement shape. Cut stems at a 45° angle before placing them into the vase, making sure they reach the bottom for water access.

Tip

If arranging for a guest table, keep it low enough for conversation. For welcome tables or accent pieces, consider adding more height.

Three leafy stems of different heights in a clear glass vase, establishing the arrangement's shape

Next, trim and place focal flowers in the vase. Then fill gaps with filler flowers and leafy stems. Rotate the vase as you work and check from eye level.

Tip

Try not to squish flowers together — leave space for them to naturally bloom.

Focal flowers added to the leafy stems in a clear glass vase

If the tape grid remains visible, add leafy stems or filler flowers around the vase opening to create a soft collar.

Completed open-faced vase arrangement with a greenery collar hiding the tape grid around the rim

Final Touches

Lightly mist flowers with Finish Spray to hydrate and preserve them.

Misting the finished open-faced vase arrangement with Finish Spray

Top vases up with water as needed.

Tip

As flowers wilt over time, remove them, give remaining stems a fresh cut, and replace the water to keep your arrangement lasting longer.

A watering can topping up the water level in the open-faced vase arrangement