← All Guides · Floral Gatherings Download Digital PDF Download Print Version

A free, step-by-step guide to making a wristlet corsage, from the team behind Southern Ontario's DIY floral arrangement parties.

How to make a Corsage

A delicate wearable floral piece perfect for special guests.

Quick Guide

Time approx. 20 minutes per corsage
Group Size 1 per corsage
Stems 3–5 per corsage

Inspiration

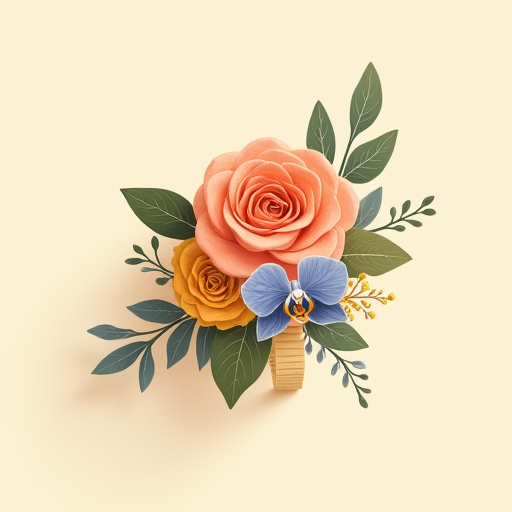
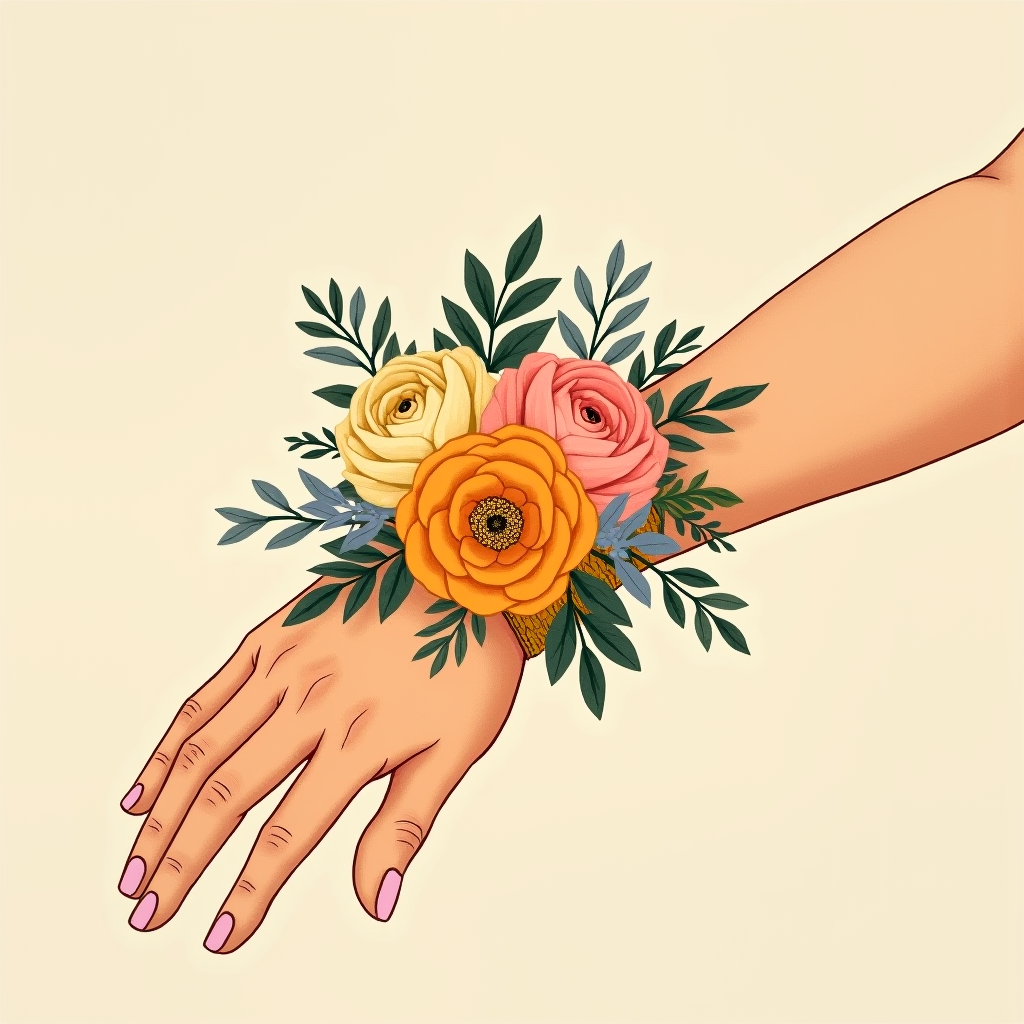
A finished corsage on a wristlet, showing shape, focal flower, filler, and greenery built up in layers
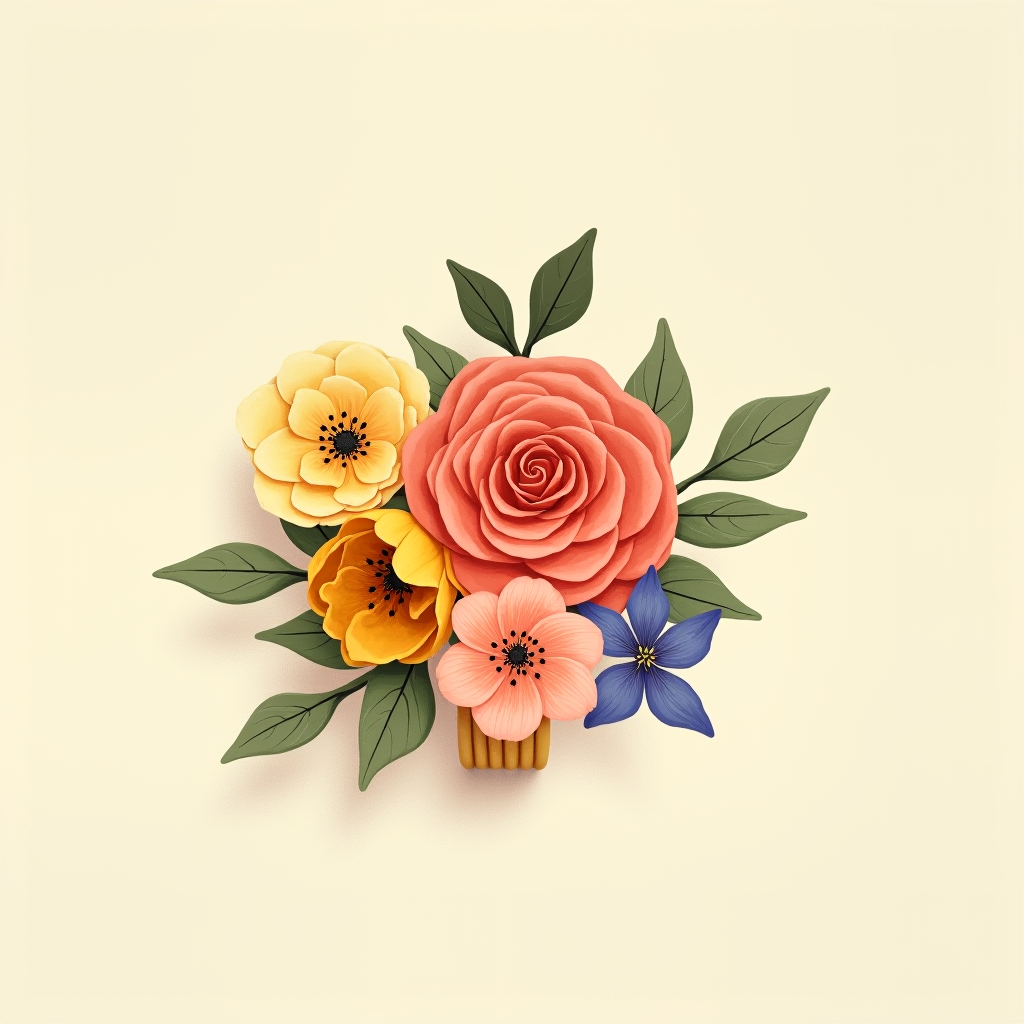
A finished corsage viewed up close, showing the focal flower, filler, and greenery in detail
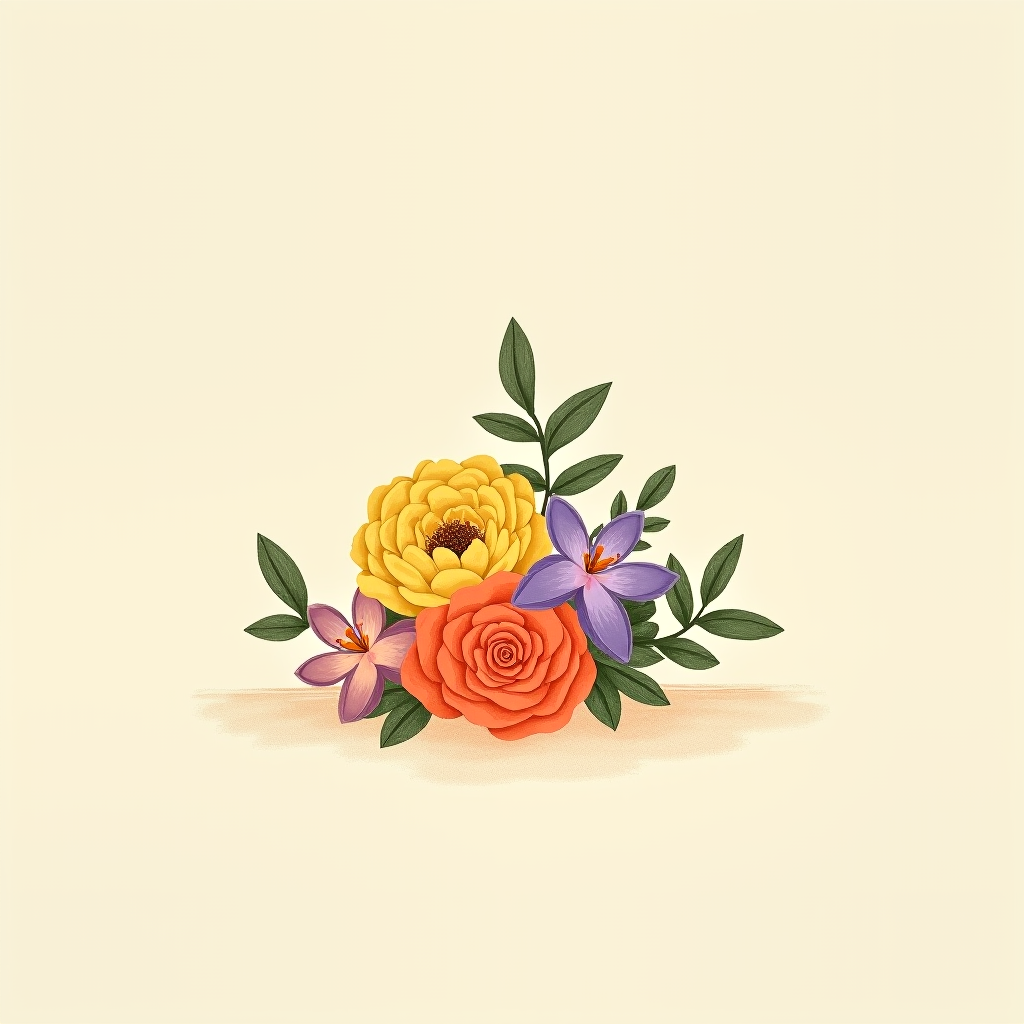
A finished corsage viewed from a different angle, showing the focal flower and filler arrangement

Materials

Shears Corsage wristlet Paper-based floral tape Double-sided glue strips Crowning Glory spray Sealed container Safety pins Ribbon & embellishments included optional

Plan Your Corsage

Corsages come in all shapes and sizes. You can add ribbon or other embellishments as desired. Typical sizes include:

  • Minimal — 1 small focal flower with 3–5 filler or leafy accent stems
  • Classic — 1–2 focal flowers with 5–7 filler or leafy accent stems
  • Full — 2–3 focal flowers with 5–7 filler or leafy accents
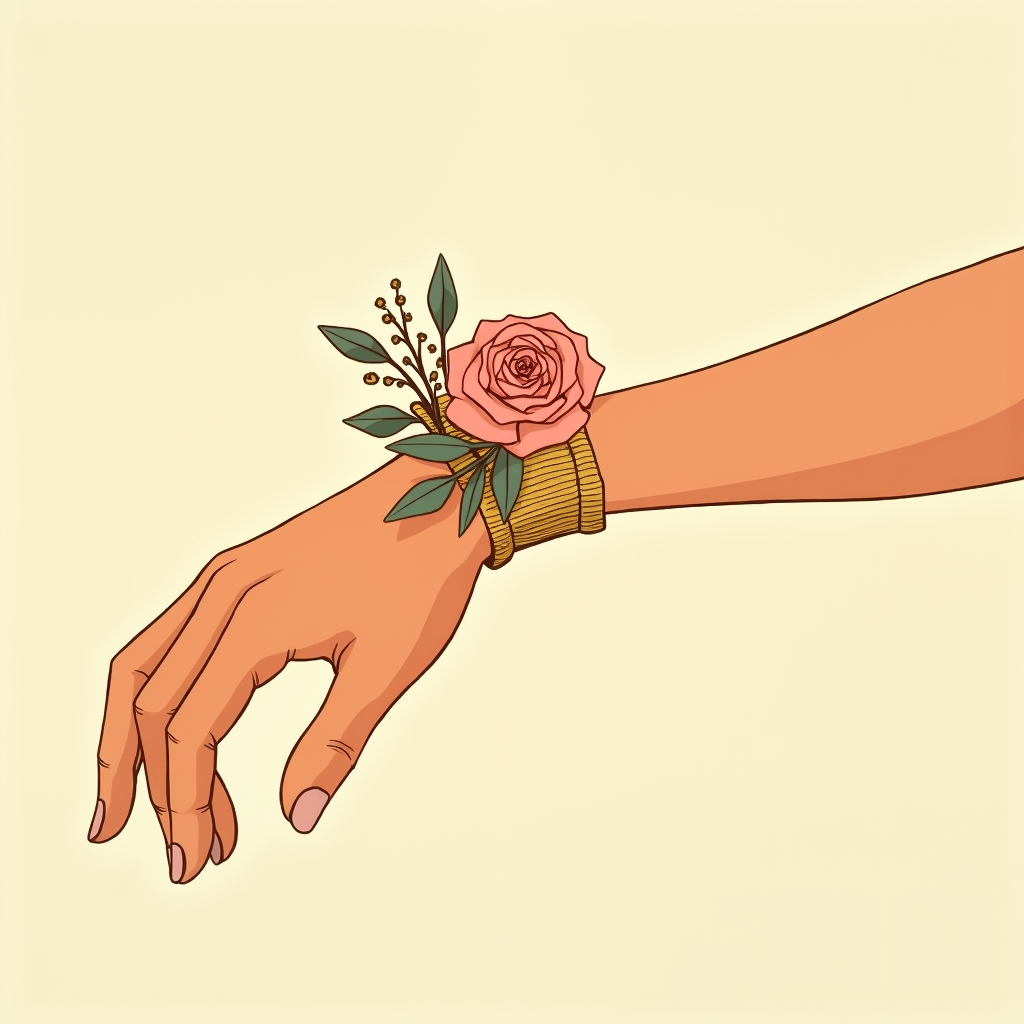
A minimal corsage on a wristlet, with one small focal flower and a modest handful of leafy accents

Minimal

A classic corsage on a wristlet, with two focal flowers and a moderate gathering of filler and leafy accents

Classic

A full corsage on a wristlet, with a lush cluster of focal flowers and abundant filler and leafy accents

Full

The corsage wristlet has a plastic card which will be the foundation your design elements stick on. Think in layers when building a corsage:

  • Start with a base of leaves or ribbon to cover the plastic card.
  • Add 2–3 small flower bundles to create shape, fullness, and balance.
  • Finish with 1–3 focal flowers as the main feature of the design.

Plan the look you want to achieve by testing how different leaves, focal, and filler flowers look when placed together. Let stems fall naturally rather than forcing their direction.

Tip

Avoid creating more than 3–4 layers — this can make the corsage heavy and uncomfortable to wear. Avoid placing sharp or irritating textures near the wrist edges.

Corsage

Create the Base Layer

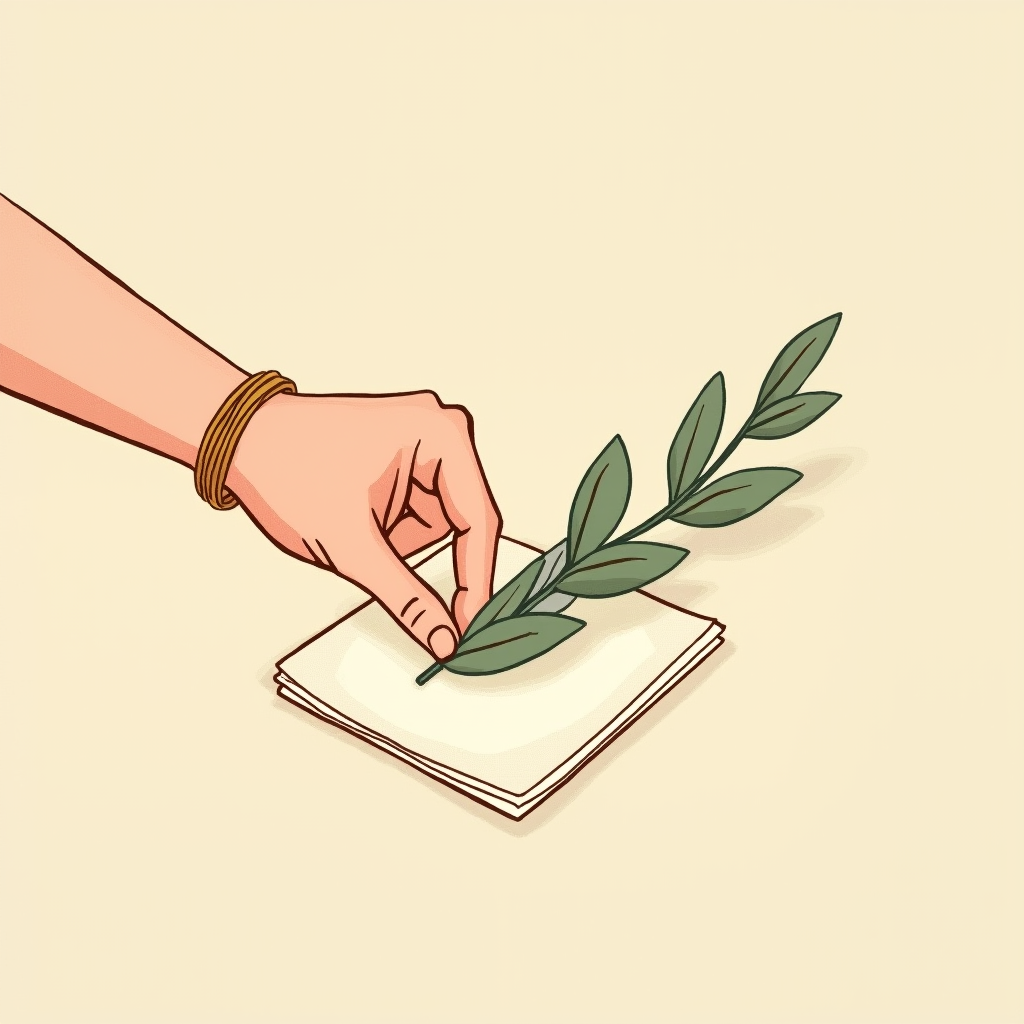
Apply a double-sided glue strip to the plastic card on the corsage wristlet. Press firmly and remove the top film.

Add 2–5 leaves to cover the plastic card and create a foundation for your design.

Optional

Add ribbon loops or other decorative accents — secure them with another glue strip pressed on top of the leaves.

A few leafy stems being pressed onto the small square corsage wristlet card with a double-sided glue strip as a green base layer

Create Accent Bundles

Select 2–3 small stems using a combination of leafy stems and filler flowers. Trim stems to approximately 1 inch long.

Hold the stems together and wrap with paper-based floral tape, gently stretching as you wrap from top to bottom to activate the adhesive. Tear the tape and smooth the end.

A small bundle of stems, roughly an inch long, taped together with paper-based floral tape

Make 1–2 additional bundles that complement the first. Bundles do not need to be identical, but they should feel balanced when placed together.

Two small taped bundles of leaves and small flowers side by side — similar to each other, but not identical

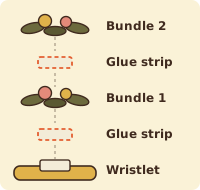
Apply another double-sided glue strip on top of the base layer. Arrange the bundles on the wristlet, leaving space in the centre for the focal flowers.

Tip

Before attaching bundles with glue strips, try the wristlet on to visualize how the flowers will sit on the wrist.

Exploded view of the build-up from bottom to top: wristlet, glue strip, bundle 1, glue strip, bundle 2

Add Focal Flowers

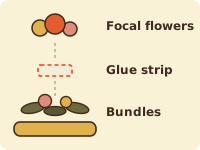
Apply a final piece of double-sided glue strip to the centre of the corsage. Trim the adhesive before placing if needed.

Place 1–3 focal flowers over the adhesive to complete the design and conceal the glue strip.

Optional

Cut small pieces of glue strip to add additional accents, such as ribbon, dried elements, or decorative details.

Exploded view of the final layers: the bundles already in place, then a glue strip, then the focal flowers on top

Final Touches

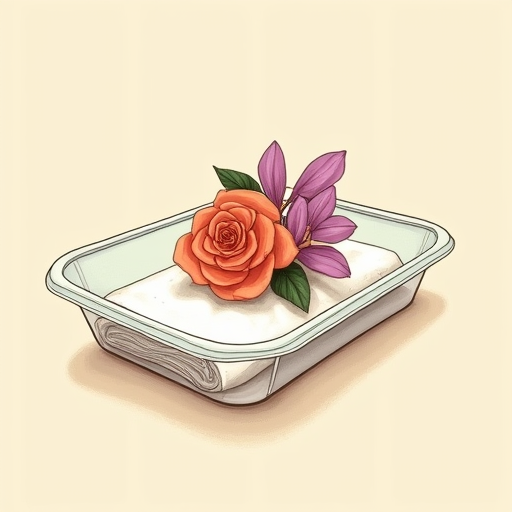
Line a sealed container with a damp paper towel. Place the corsage in the container.

A clear sealed container lined with a damp paper towel with a corsage resting inside

Lightly spray with Crowning Glory to help preserve the flowers. Close the container and place in the fridge until the event.

Tip

Place extra safety pins in the container for backup support, in case a bundle needs re-securing.

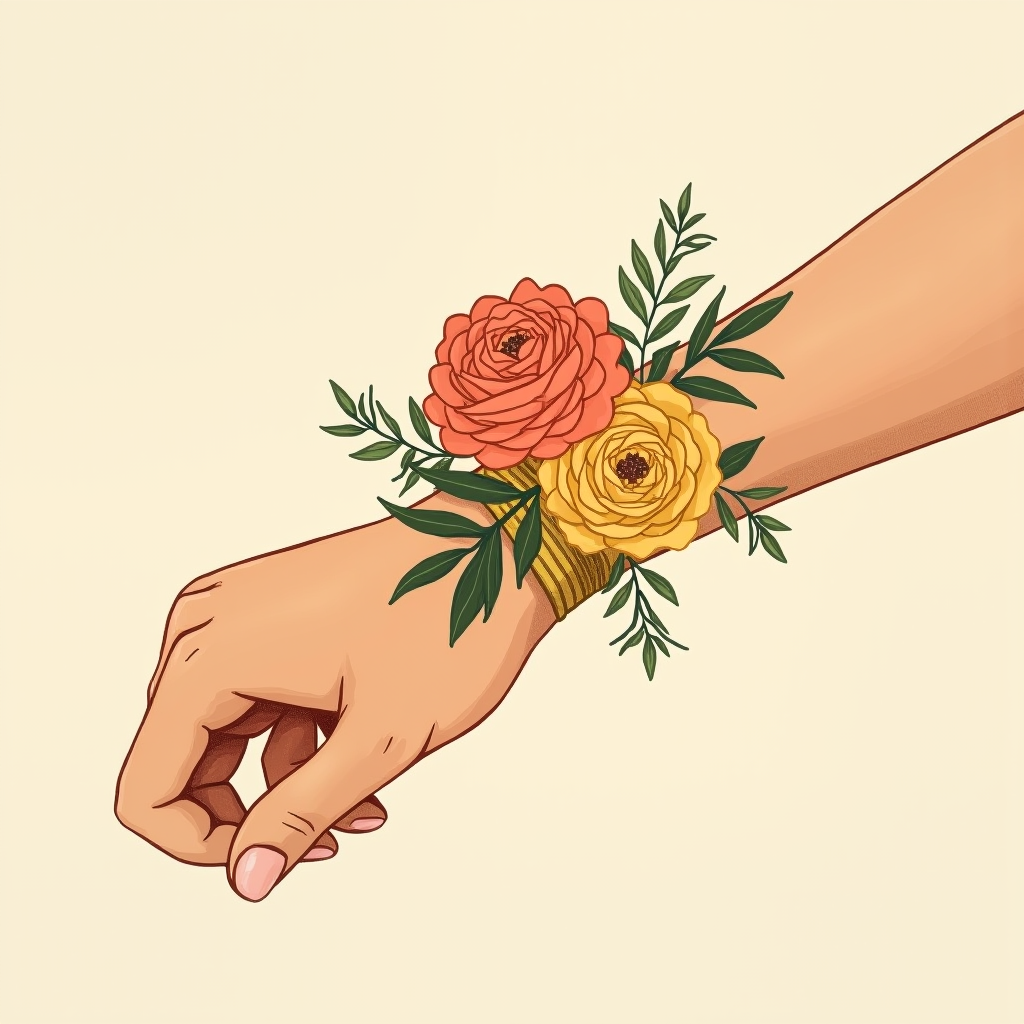
On the event day, place the corsage on the wrist like a bracelet.

A corsage wristlet being slipped onto a wrist like a bracelet, flowers facing outward