
How to arrange a Bud Vase
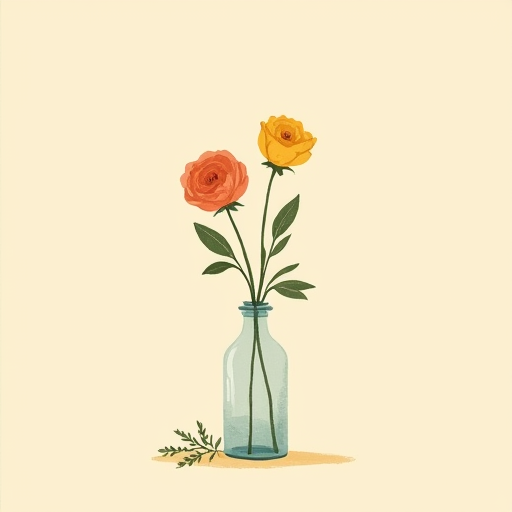
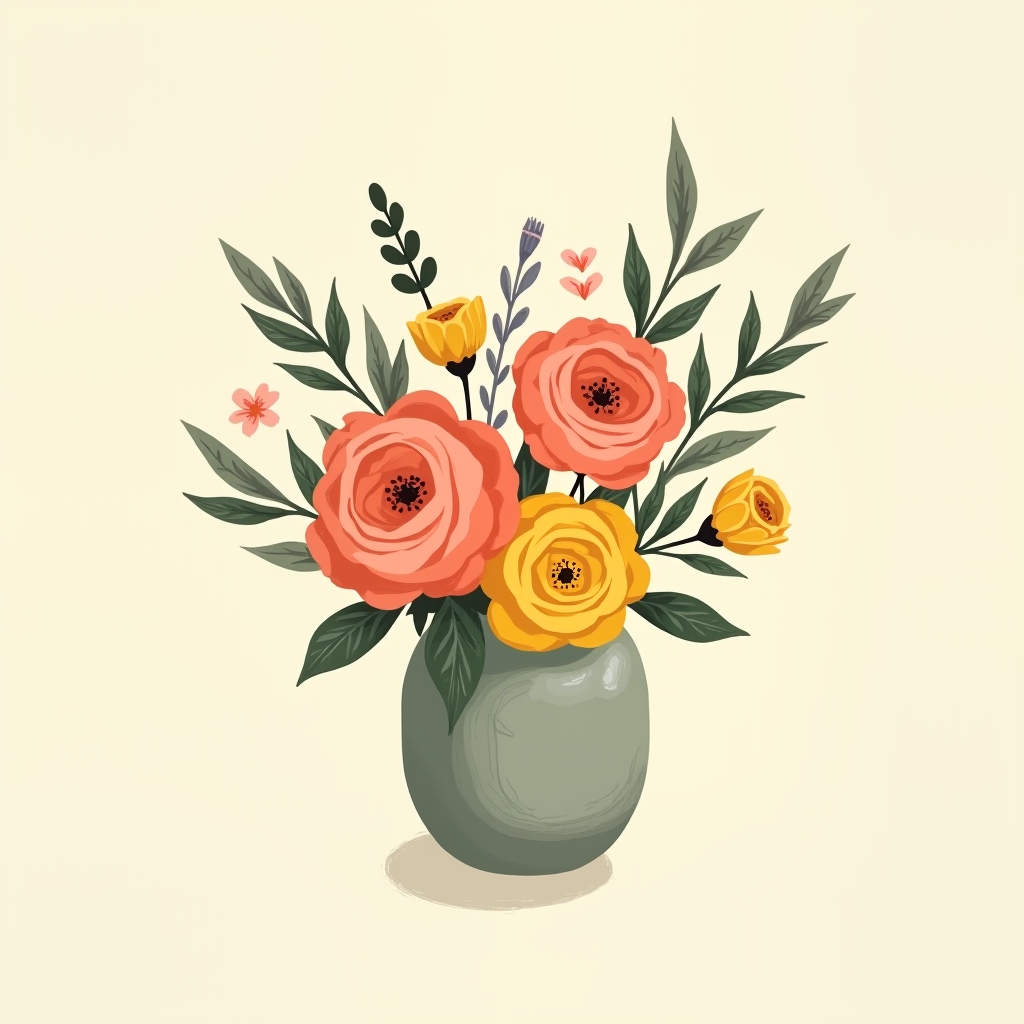
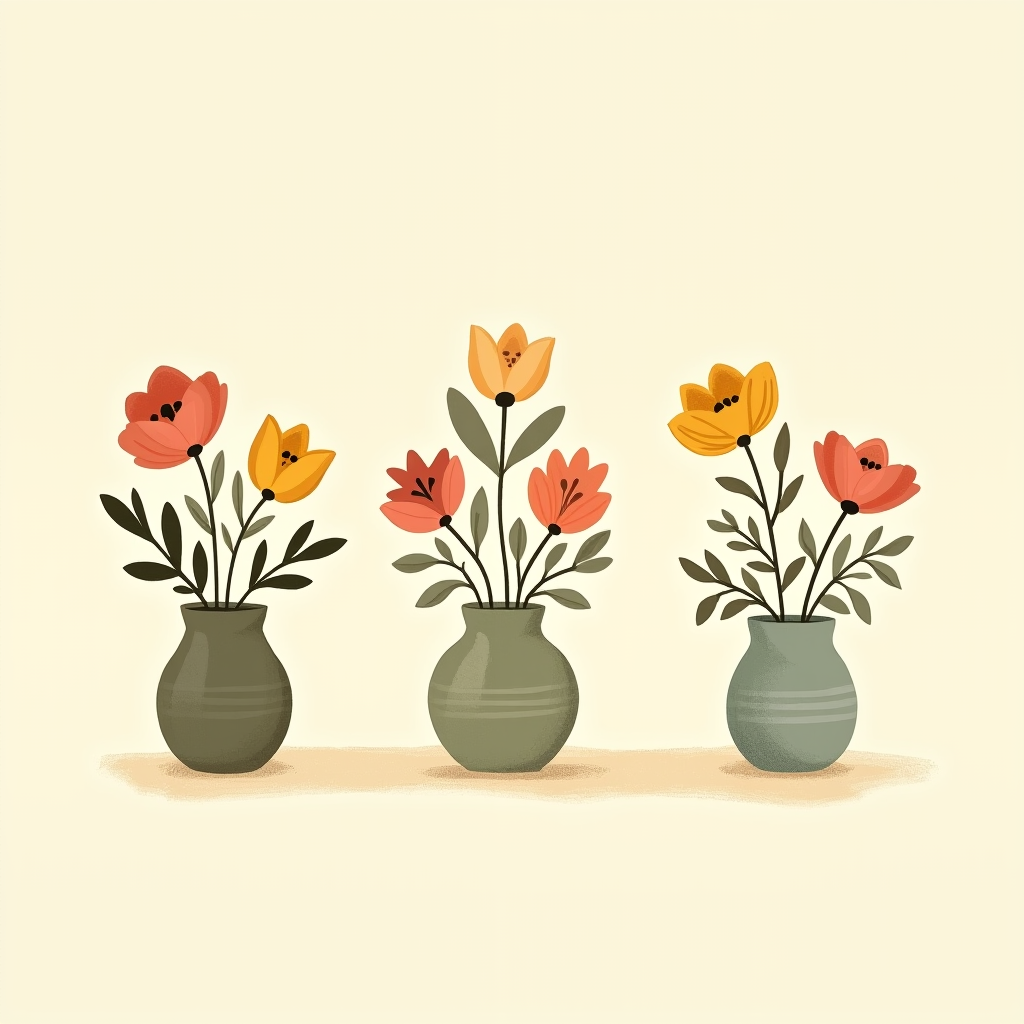
Small, simple, and impactful. Bud vases add colour, movement, and charm to any space.
Quick Guide
Inspiration
Materials
Arrange Stems
Fill each bud vase halfway with clean room temperature water. Add a pinch of flower food and stir.
When making many bud vases, add water and two packets of flower food to a large bucket, stir, and dunk each vase until filled.
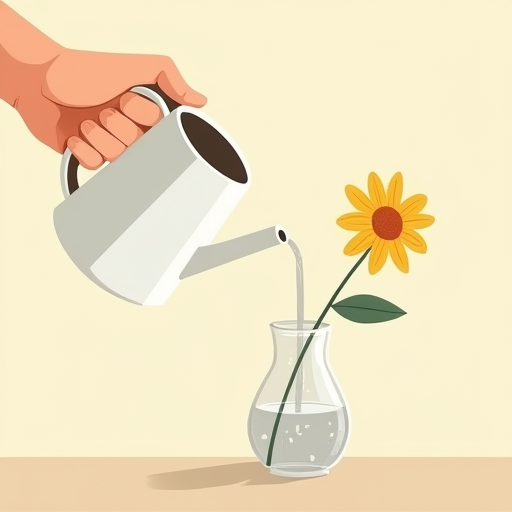
Start with 1–2 leafy stems. Cut stems at a 45° angle to preferred height and place in the vase.
Keep the arrangement no taller than twice the height of the vase. For guest tables, keep low enough for conversation — add a few taller stems if desired for movement and dimension.
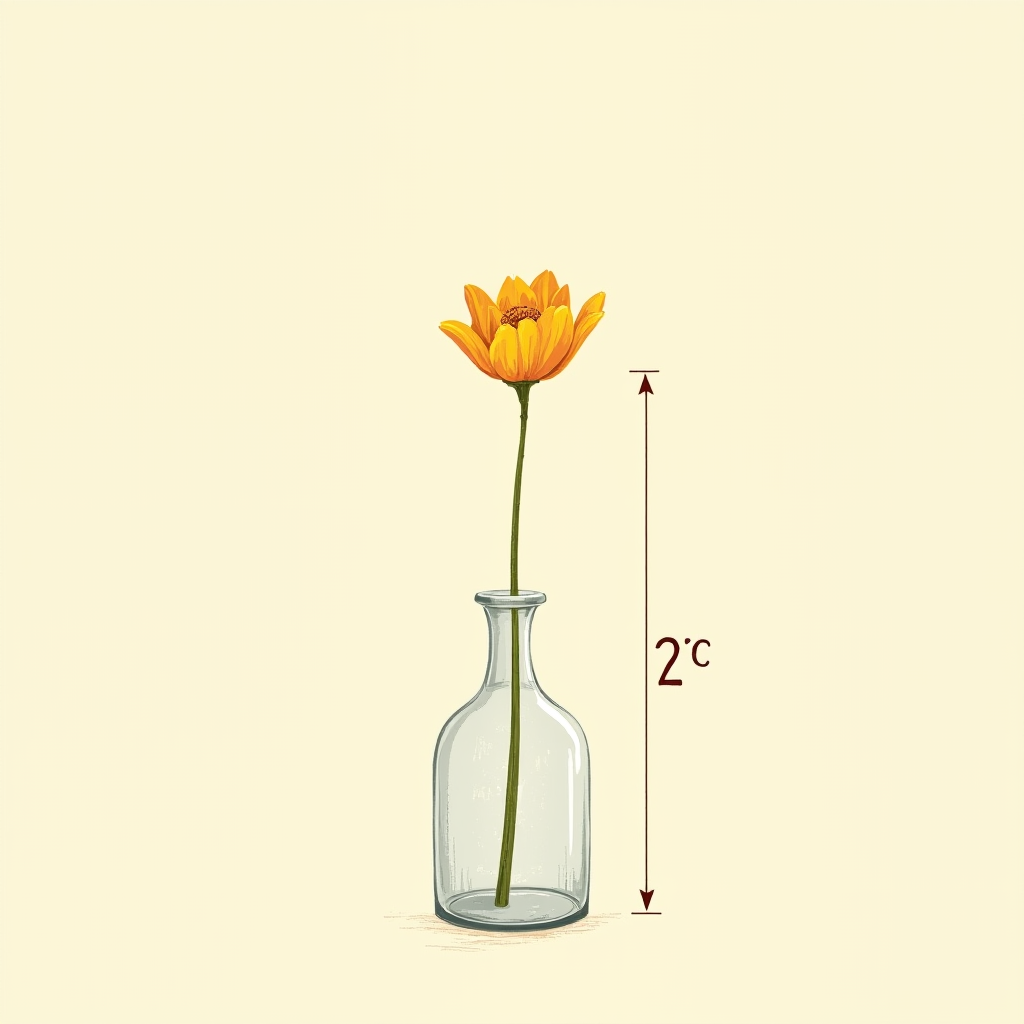
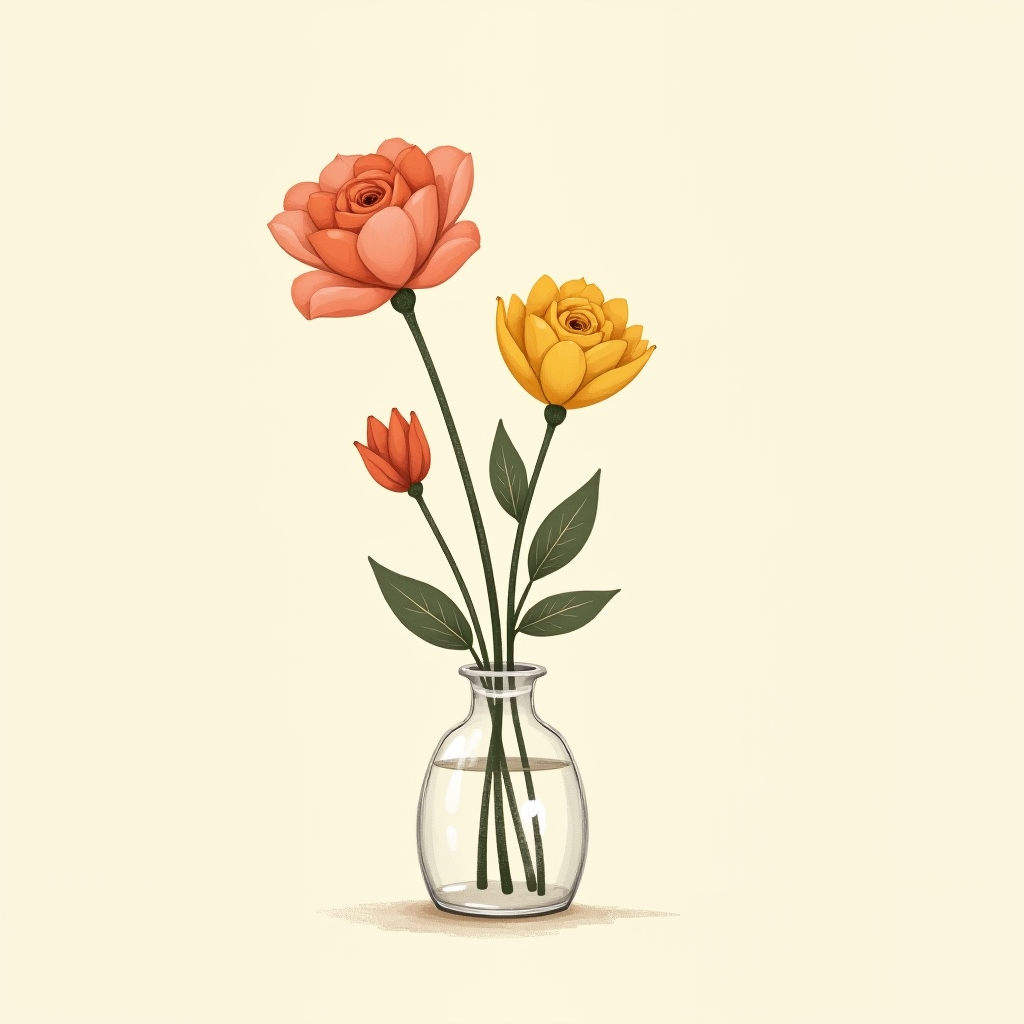
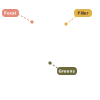
Add 2–3 focal and filler flowers, leaving breathing room between stems to play with negative space. Large blooms need shorter stems for stability — tall, heavy blooms can tip the vase.
Final Touches
Lightly mist flowers with Finish Spray to hydrate and preserve them.
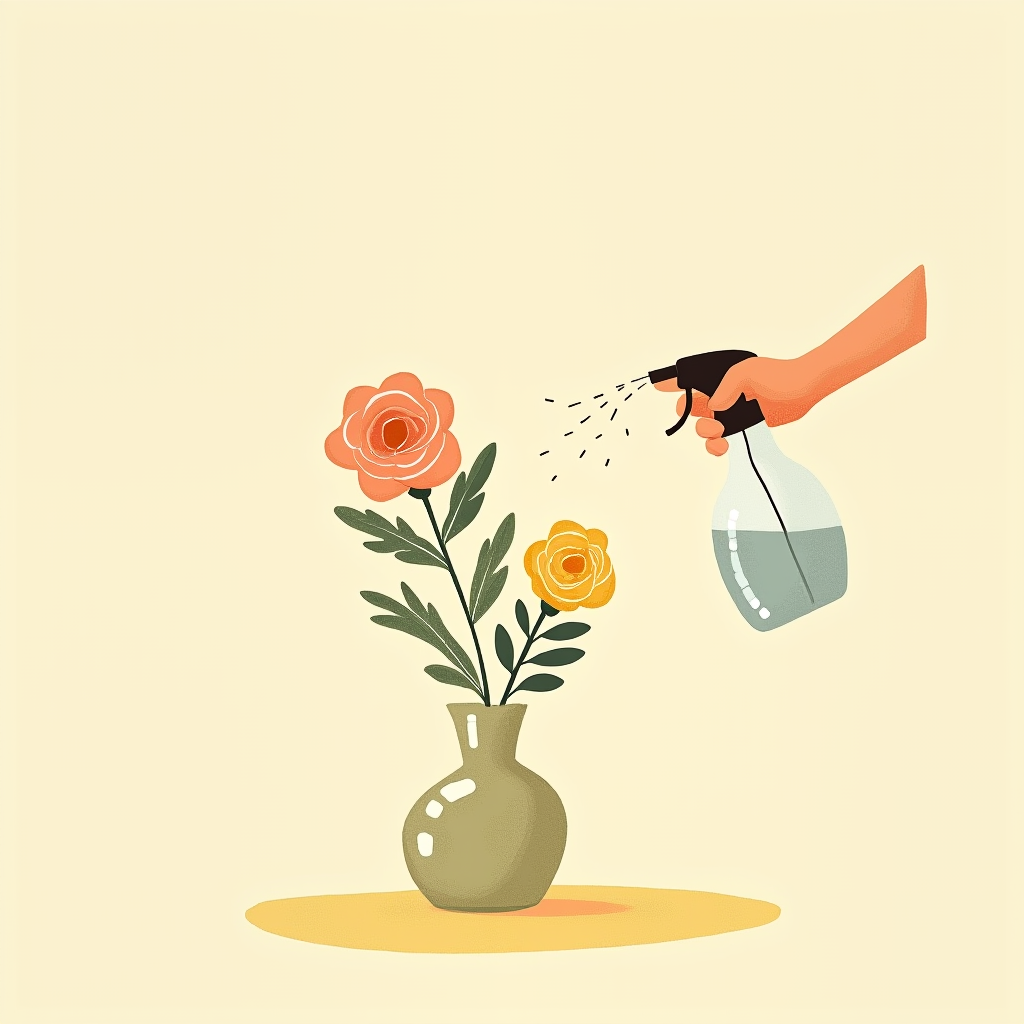
Store in a cool place away from direct sunlight until they are ready for transport.
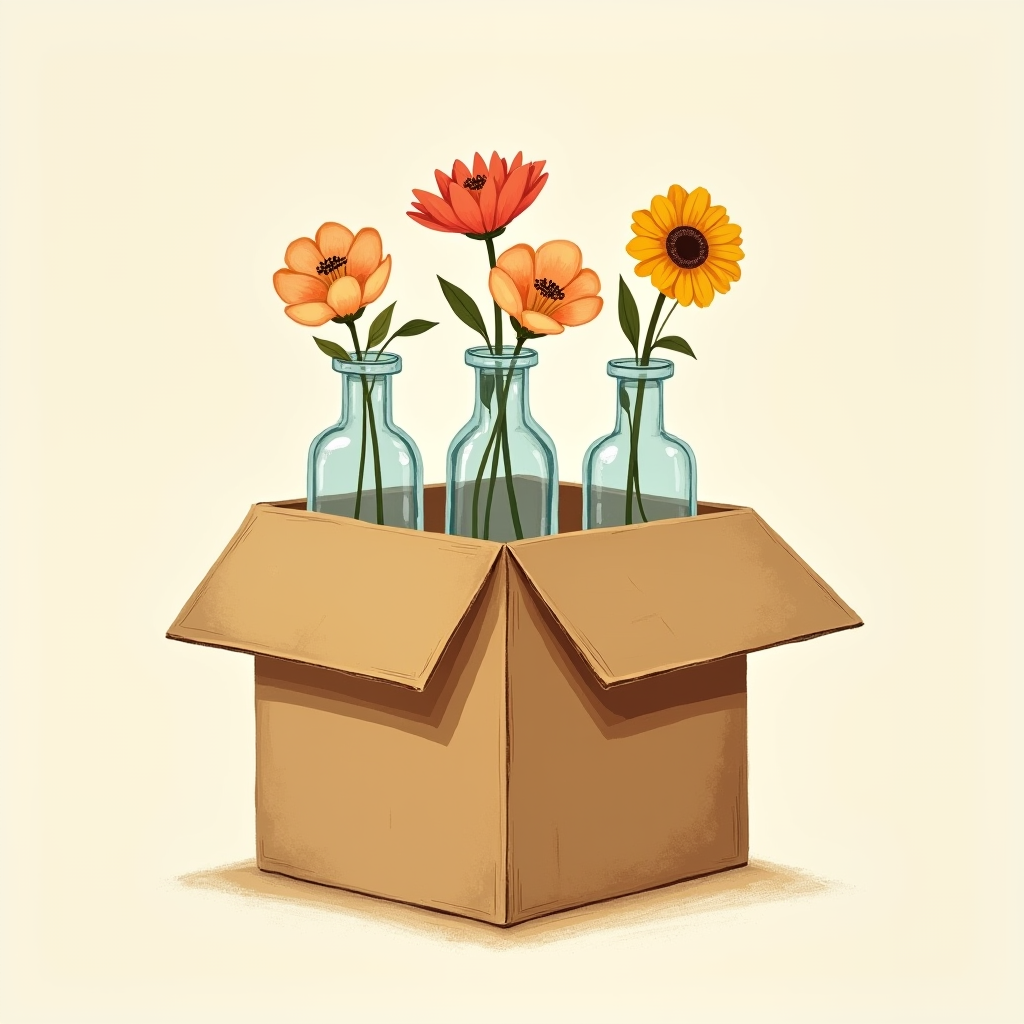
Top up with water as needed. Remove or replace any wilted blooms before the event.