← All Guides · Floral Gatherings Download Digital PDF Download Print Version

A free, step-by-step guide to making a boutonniere, from the team behind Southern Ontario's DIY floral arrangement parties.

How to make a Boutonniere

A polished floral accent perfect for grooms and groomsmen.

Quick Guide

Time approx. 15 minutes
Group Size 1 per boutonniere
Stems 1–7 per boutonniere

Inspiration

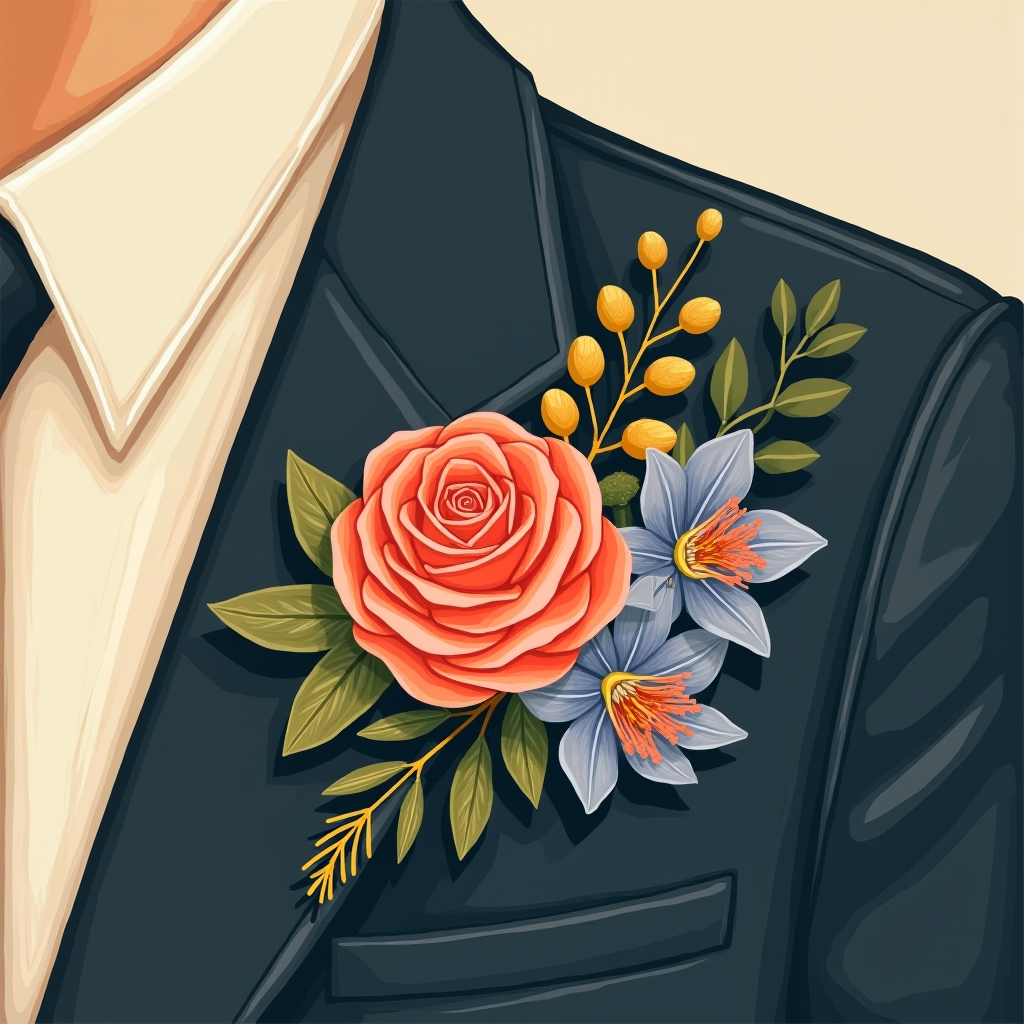
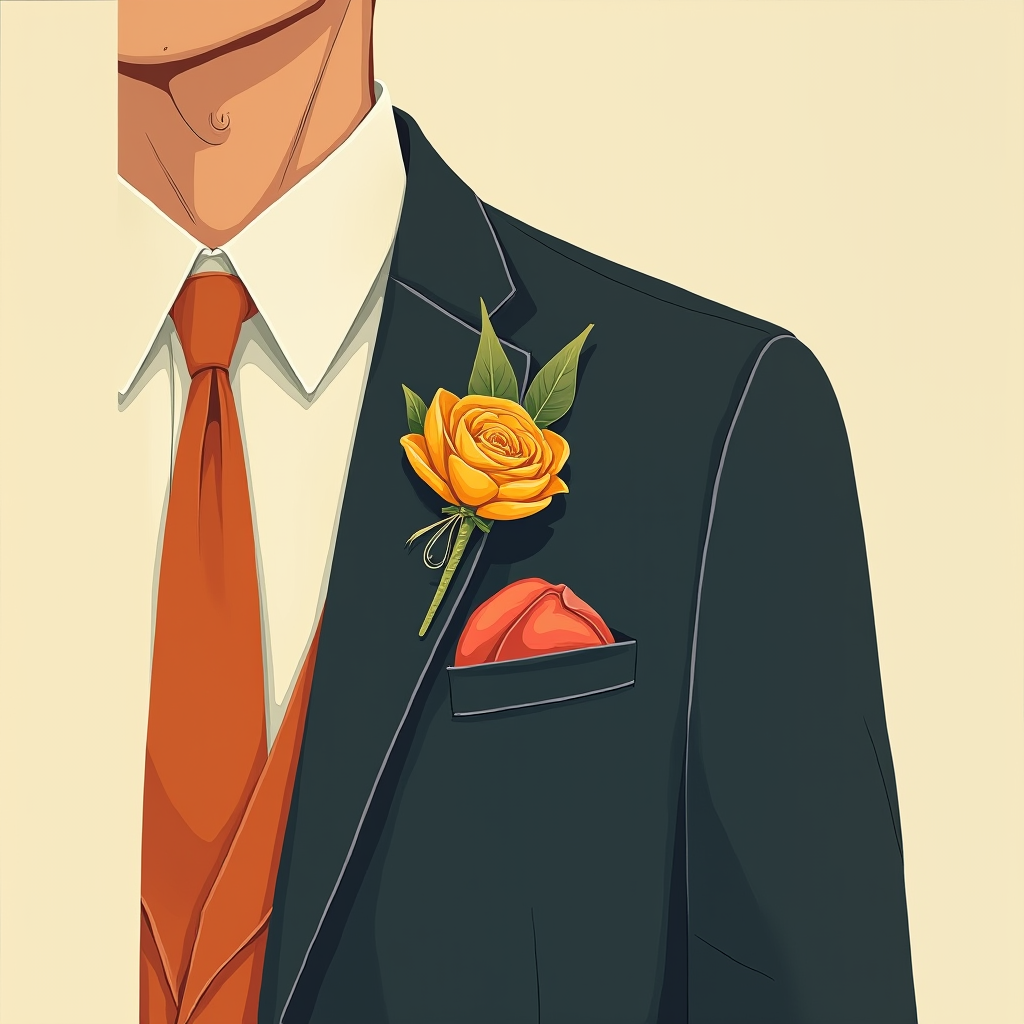
A finished boutonniere pinned to a lapel, showing shape, focal flower, filler, and greenery
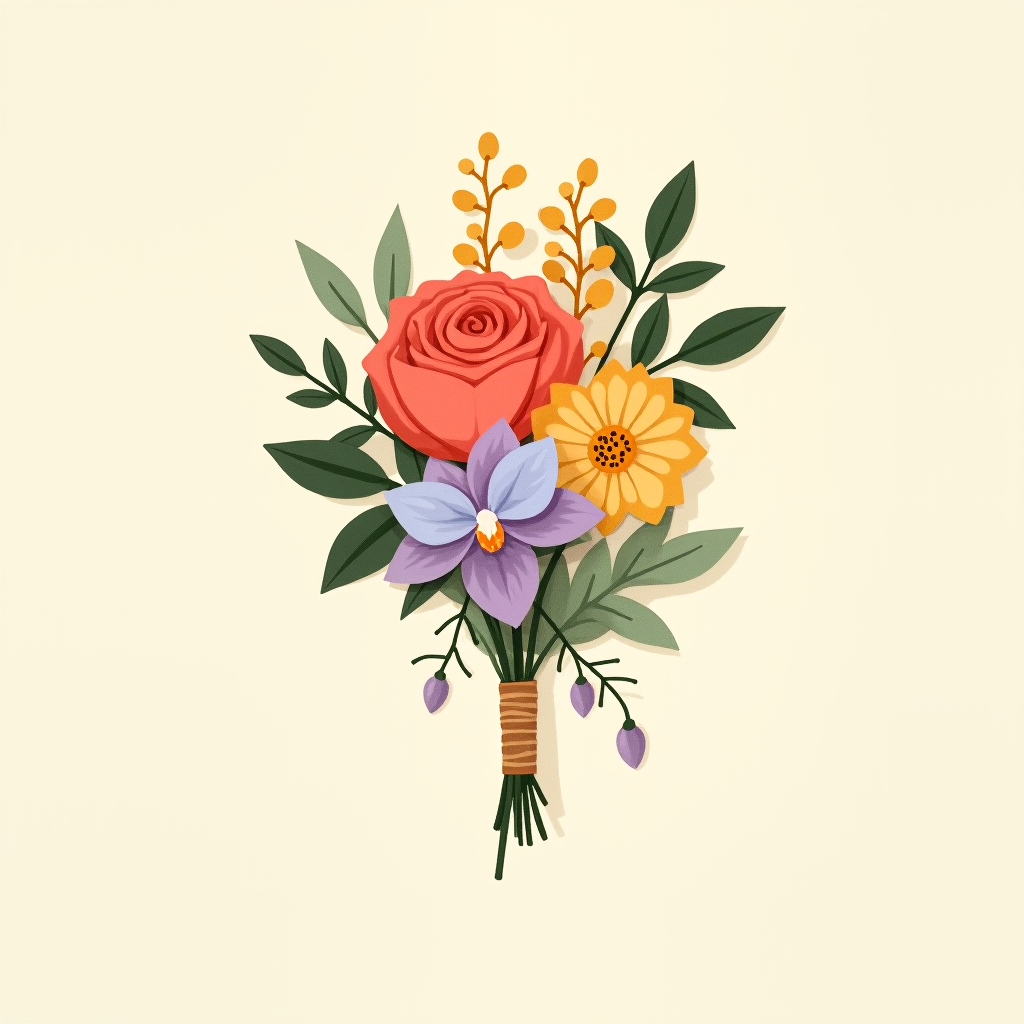
A finished boutonniere resting flat, showing the focal flower, filler, and greenery in detail
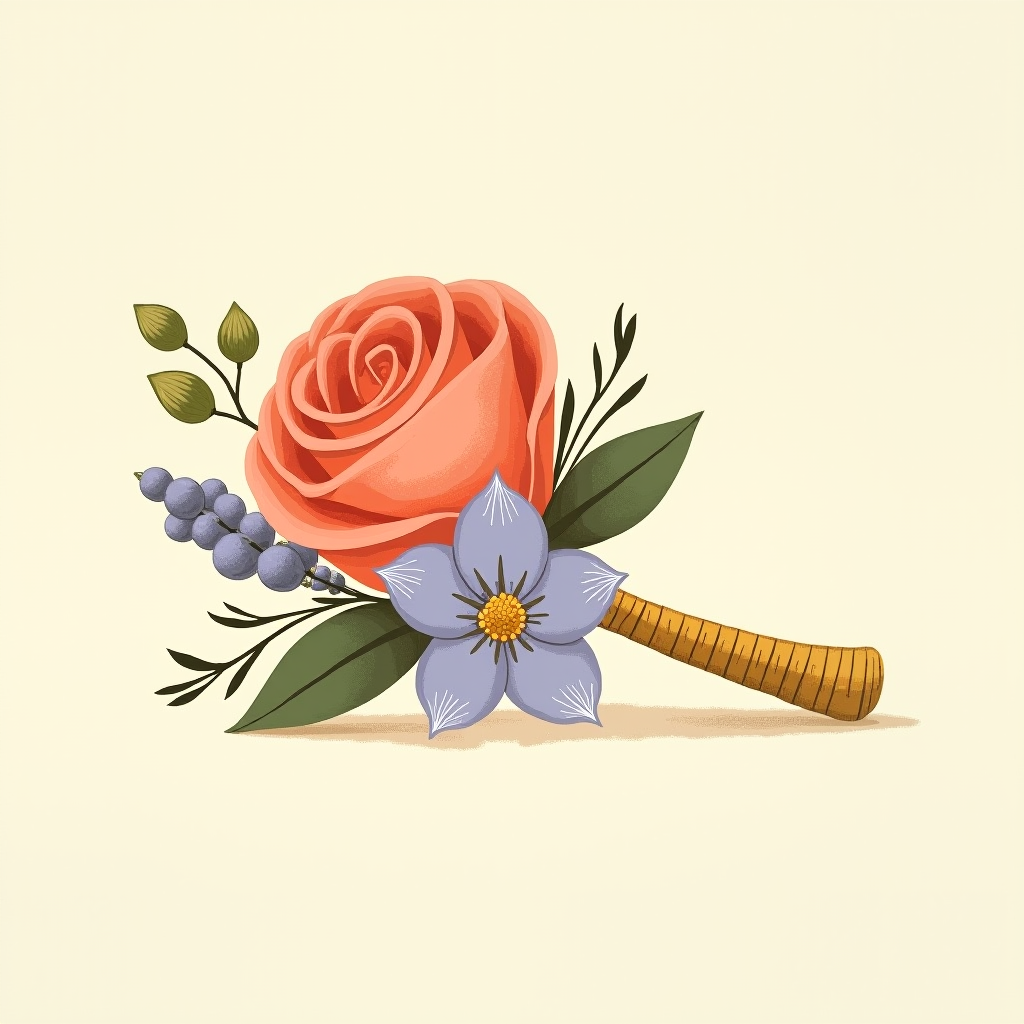
A finished boutonniere seen from the side, showing its profile and the clip at the base of the stems

Materials

Shears Boutonniere clip Paper-based floral tape Crowning Glory spray Safety pins Sealed container Ribbon & embellishments included optional

Gather Stems

Boutonnieres come in all shapes and sizes. Consider your lapel size when choosing a style:

  • Minimal — 1 focal flower with leafy accents
  • Classic — 1 focal flower & 1–2 filler flowers with leafy accents
  • Full — 1–2 focal flowers & 3–5 filler flowers with leafy accents

Your design will be attached to a boutonniere clip and pinned to the lapel.

Select stems for your chosen style. Trim stems to size, keeping them under 3 inches long.
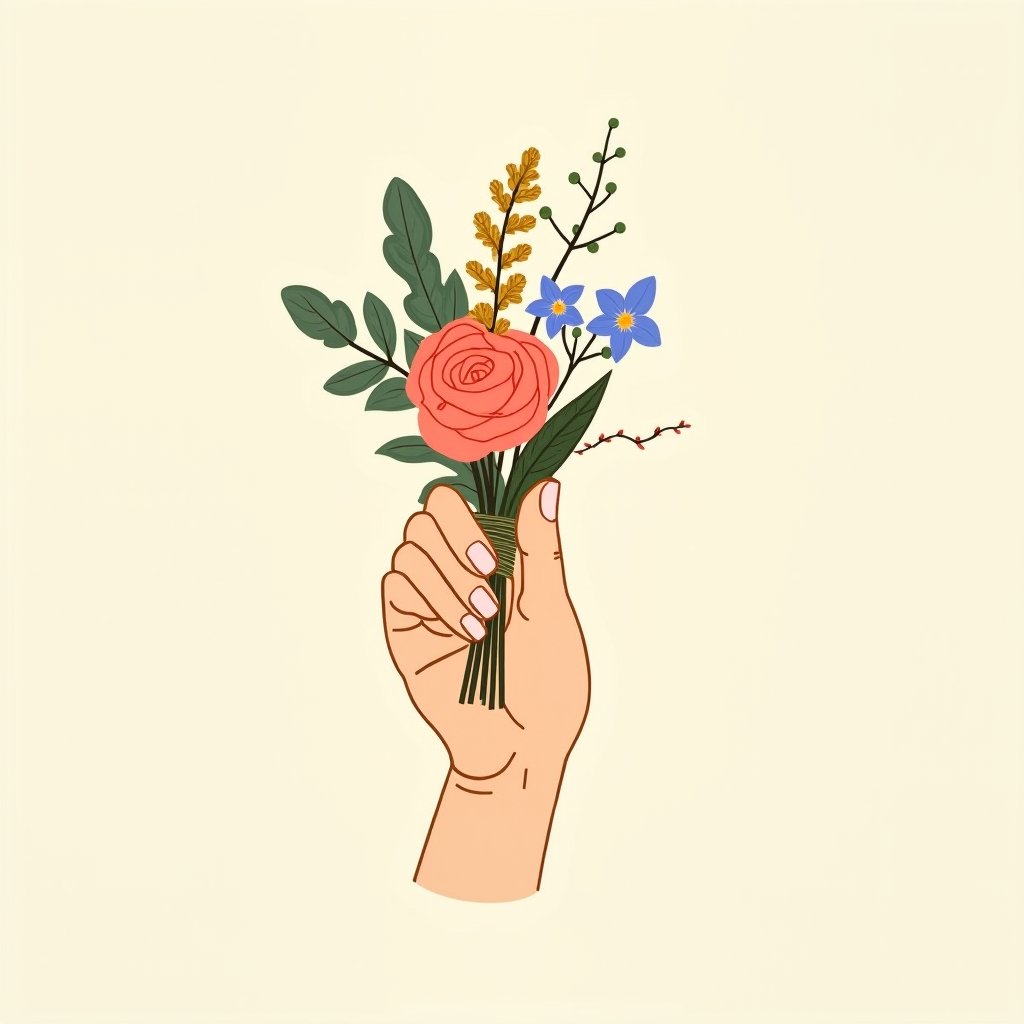
A classic boutonniere bundle with a rose, orchid, eucalyptus, and amaranth taped together

Practice arranging your stems together. Test different stem combinations before taping. Let stems fall naturally rather than forcing their direction.
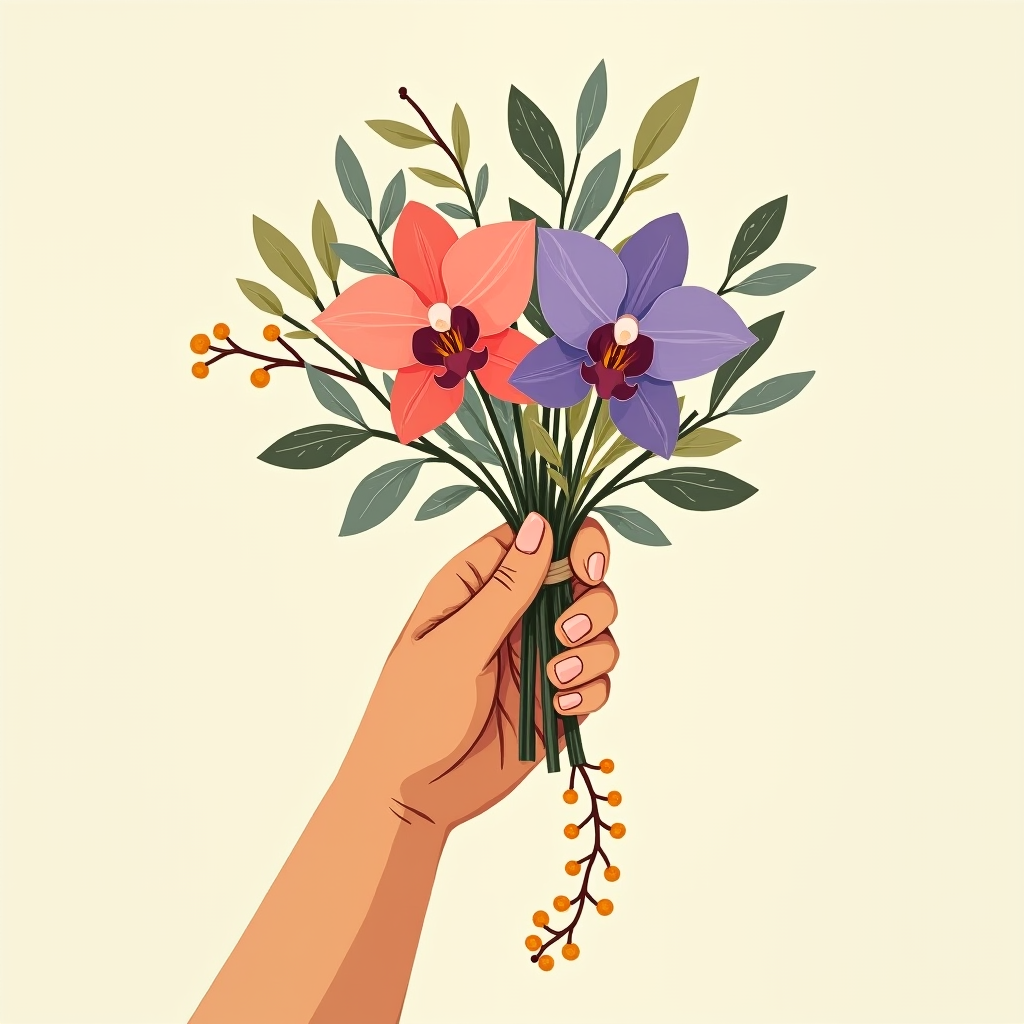
A boutonniere bundle with two orchid flowers and one amaranth hanging down naturally

Boutonniere

Securing Stems

Once you've identified your preferred stem combination, you're ready to tape.

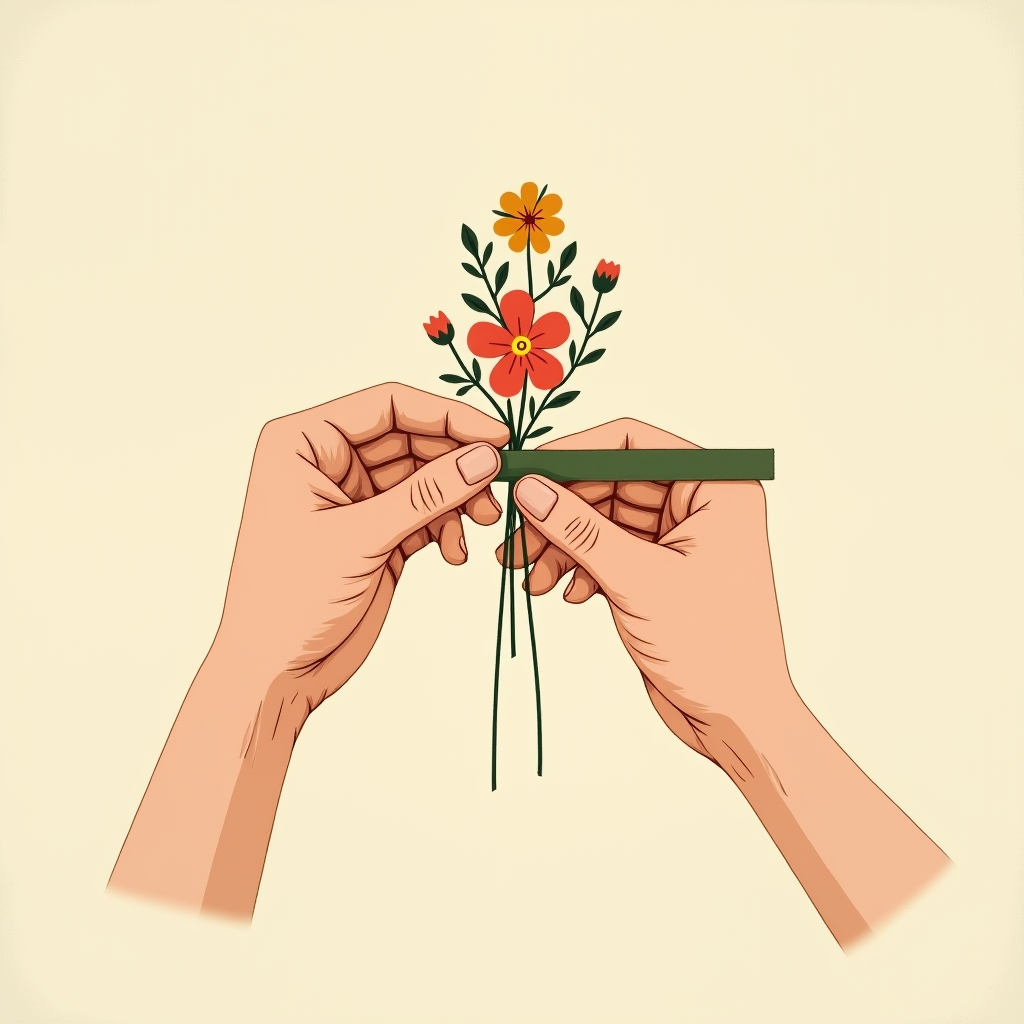
Hold your selected stems together and begin wrapping paper-based floral tape around them. Wrap from top to bottom while gently stretching the tape to activate the adhesive. Tear and smooth the tape at the bottom.

For large stem groupings, work in sections by wrapping 1–2 stems first and adding stems as you go.

Once your bundle of stems is taped together, attach to the boutonniere clip by taping from top to bottom.

Optional

You can leave the clip as-is with the floral tape, or add embellishments like ribbon or twine around the clip.

Tip

For grooms, make a backup boutonniere — hot weather, enthusiastic hugs, and long celebrations can take a toll on the strongest of boutonnieres.

The taped stem bundle being attached along the long part of the boutonniere clip with floral tape

Final Touches & Event Day Tips

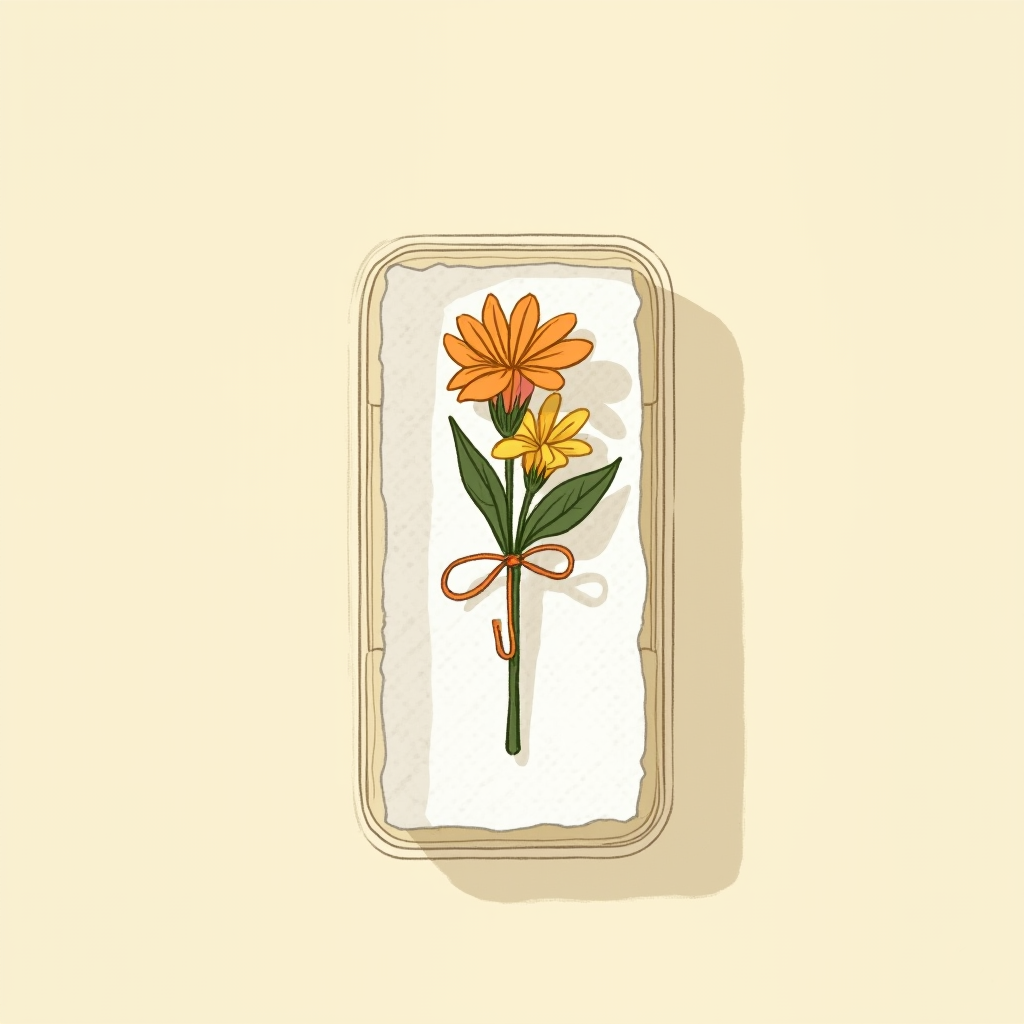
Line a sealed container with a damp paper towel. Place the boutonniere clips in the container.

A clear sealed container lined with a damp paper towel with a boutonniere resting inside

Lightly spray with Crowning Glory to help preserve the flowers. Close the container and place in the fridge until the event.

Tip

Place extra safety pins in the container for backup support.

On event day, attach the clip to the lapel. Traditionally, boutonnieres are worn on the left.

Optional

For extra security, secure a safety pin through the underside of the lapel and stems. You can also place the boutonniere in a jacket pocket — this may be helpful for heavier designs.

A boutonniere clip attached to a jacket lapel on the left side, with a safety pin secured through the underside for extra hold