← All Guides · Floral Gatherings Download Digital PDF Download Print Version

A free, step-by-step guide to how to make a bridal bouquet, from the team behind Southern Ontario's DIY floral arrangement parties.

Large Bridal Bouquet

A large impactful front-facing bouquet design that is sure to be a showstopper.

Quick Guide

Time approx. 45 minutes
Group Size 1–2 people
Stems 25–35 per bouquet

Inspiration

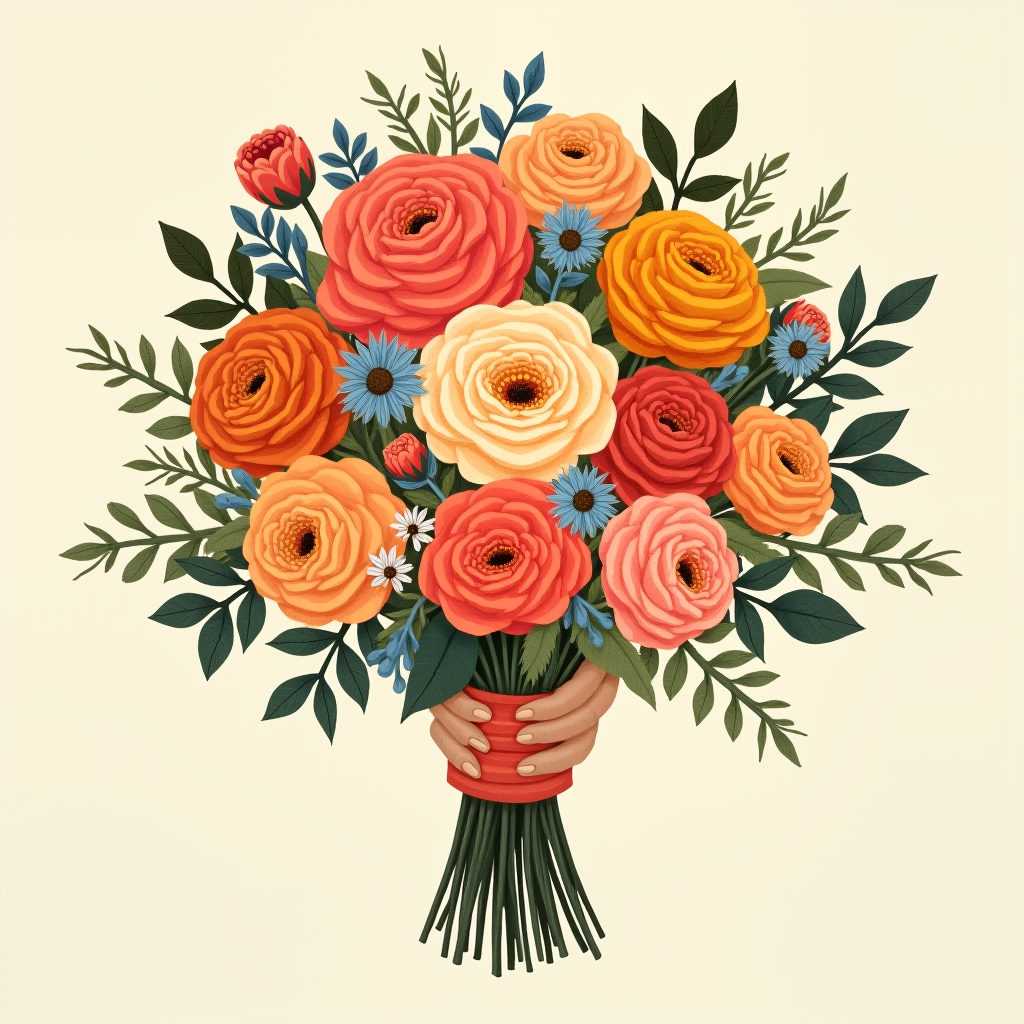
A finished large front-facing bridal bouquet with lush focal flowers and a soft leafy collar, showing a clear front side
A large front-facing bouquet resting flat on a cream surface, viewed from above at a slight angle
A large front-facing bouquet held at the grip point, showing front blooms and side profile depth

Materials

Shears Waterproof floral tape Rubber bands Ribbon Floral pins Finish Spray Scissors Container Safety pin included not included optional

Plan Your Bouquet

Bridal bouquets take time and patience. It's completely normal to start, not feel like you got it right, and then try again. Here are some tips to get you started:

  • Work near a table to take breaks and build gradually. Large bouquets can get heavy!
  • Hold stems in your non-dominant hand. Use your dominant hand to add one stem at a time.
  • Grouping flowers in odd numbers like 3 or 5 often feels more natural.
  • This bouquet has a front-facing side, so the back can remain simple. Check the shape from the front and sides as you build. Using a mirror can help, or get advice from another person.
  • Unless part of the design, avoid placing the same flowers in one place — spreading colour, texture, and size ensures the bouquet looks great from all viewing angles.
  • Pull up stems for height and dimension. Try not to squish flowers — they need space to bloom and breathe.

Arrange Stems

Pick 3–5 leafy stems to start. Keep stems long while arranging — you will trim them later.

Remove any leaves or blooms below the grip point for a clean bouquet handle.

Hand holding three different green leafy stems, highlighting the grip point and stems extending below it

Add 3–5 focal flowers to the bouquet.

Tip

If the bouquet becomes difficult to hold, wrap a rubber band around the stems (see Secure Stems on the back) and continue to add stems around it.

Hand holding greenery and flowers with leaves below the grip point, marked with an X to show this should not be done

Now add 3–5 filler flowers. Continue alternating between leaves, focal, and filler flowers until you achieve your desired look.

Optional

You can add leafy stems around the outer edge to create a soft collar effect.

Hand holding medium bouquet with flowers and leafy stems around the outer edge of the bouquet

Large Bridal Bouquet

Secure Stems

Once you have your design, cut the stems to a manageable length, but not to the final length.

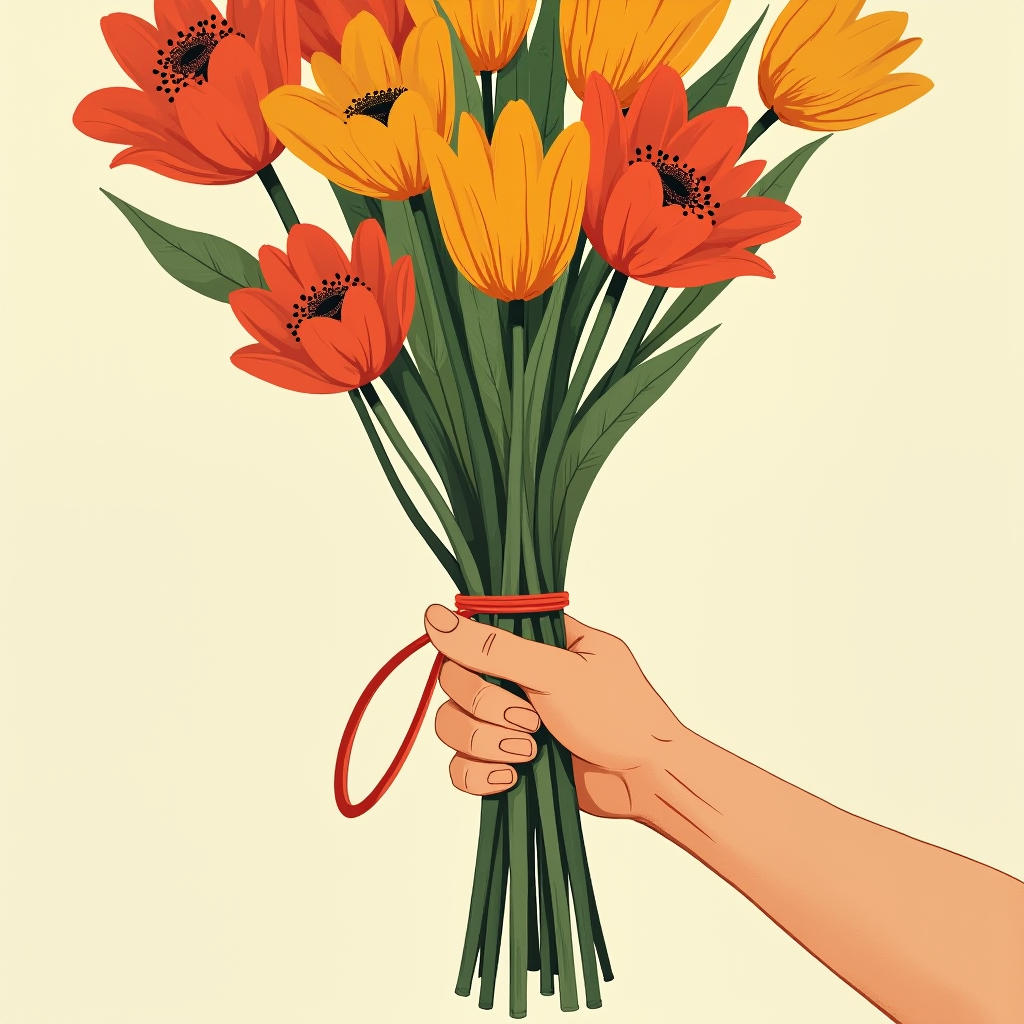
Secure the bouquet at the grip point using a rubber band. This creates an initial hold for the bouquet.

Tip

Anchor the rubber band to one sturdy stem, twist around the bouquet, then hook it back onto a stem to secure. This method secures the bouquet without crushing stems.

Hand holding bottom of stems in a bouquet, with rubber band looped around one stem and wrapped around the full bouquet, then looped around another stem to secure

Use waterproof green floral tape for a secondary hold. Start the floral tape about 2–3 inches above the grip point. Rotate the bouquet while wrapping tape downward.

Stop once the tape covers about 4–5 inches of stems — this will form the bouquet handle.

Hand holding bouquet with green tape being added around the stems for about 3 inches of coverage

Hold the bouquet with the back side facing you. Place ribbon at the top of the taped section. Secure ribbon using a floral pin inserted at a downward angle through the stems.

Wrap the ribbon down the stems and secure with pins as you go in a straight line. Finish with one pin angled upward at the base. Cut excess ribbon.

Add embellishments like charms or lockets as desired. Pin heavier items into sturdy stems using a safety pin.

Hand holding the bouquet from the back with ribbon covering the top section of tape and floral pins being inserted into the stems in a straight line

Finishing Touches

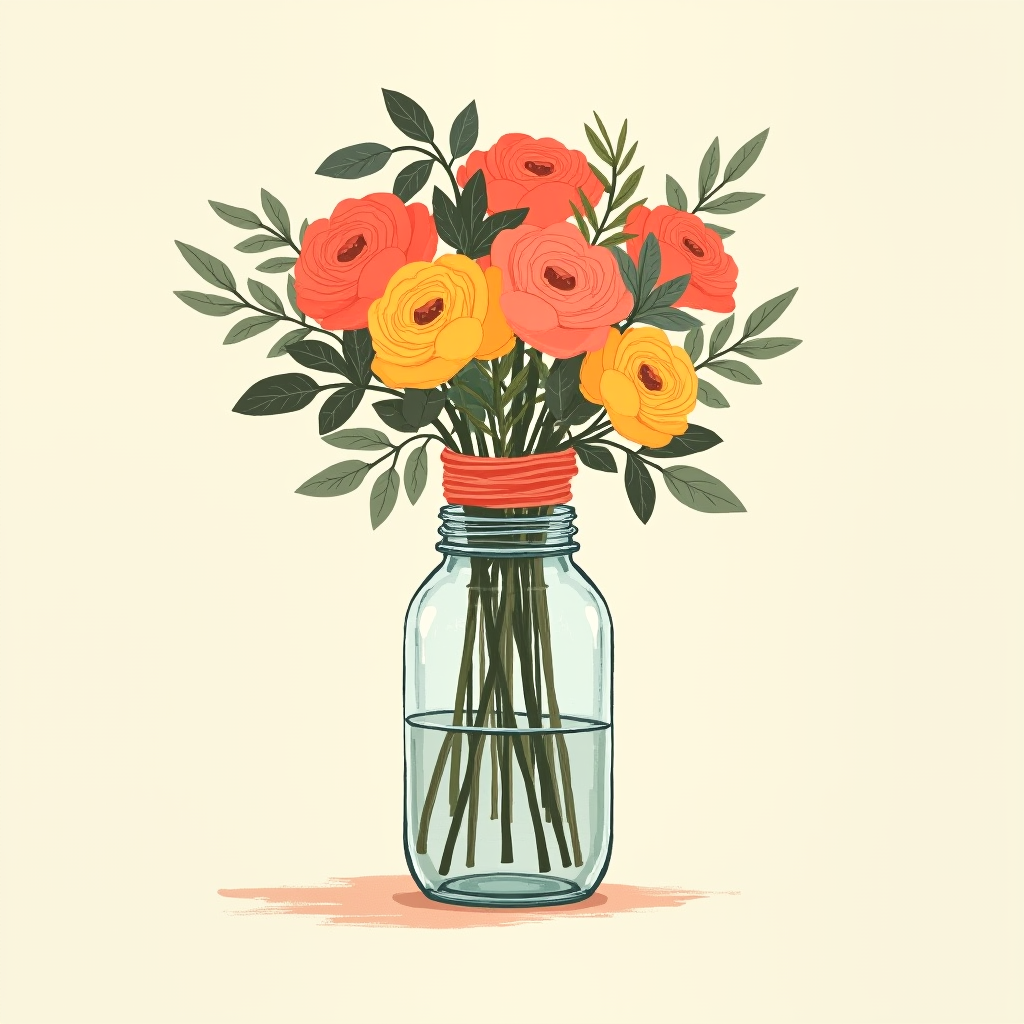
Place the bouquet in a container (e.g., mason jar) with water. Avoid getting the ribbon wet. Add water as needed until event day.

Finished bouquet standing in a water-filled container, with the ribbon and embellishments sitting above the water line

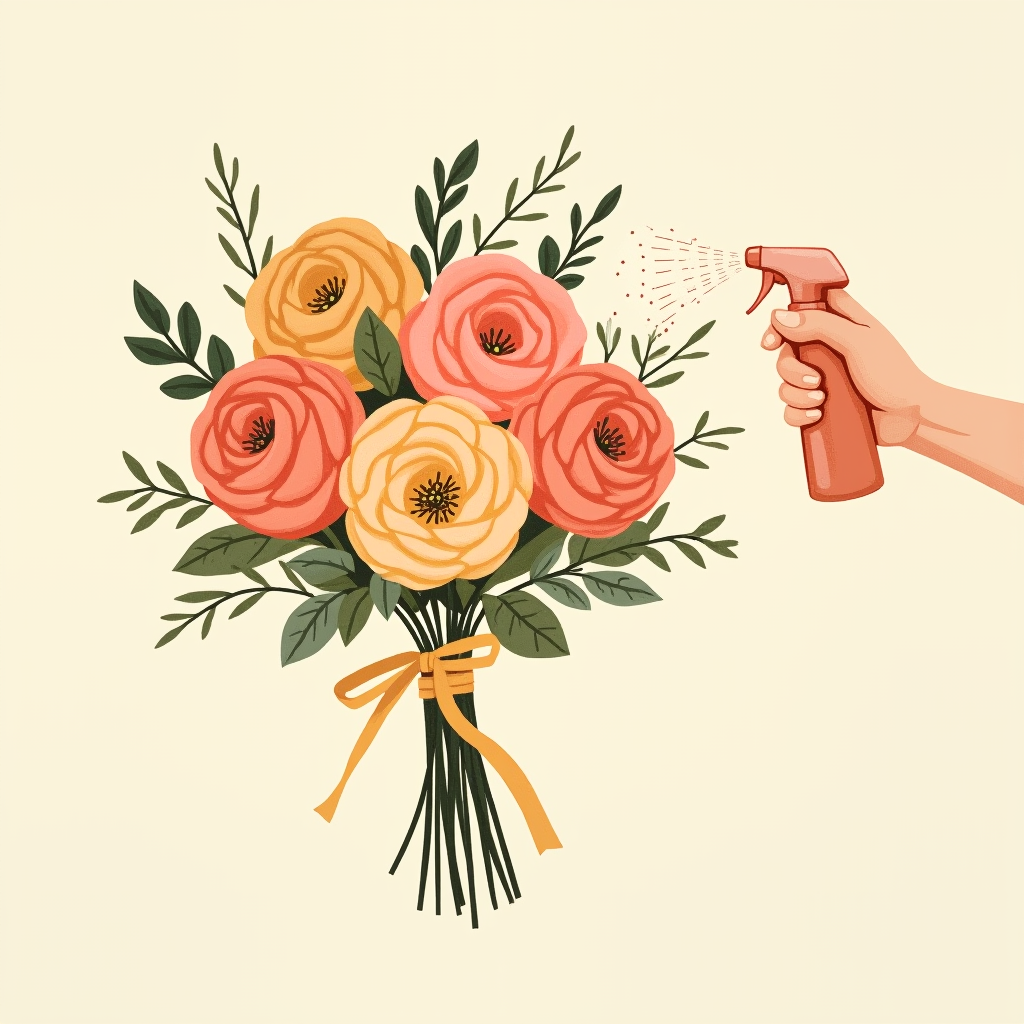
Lightly mist the bouquet with Finish Spray to hydrate and preserve the flowers.

Store in a cool place away from direct sunlight.

Misting the finished bouquet with Finish Spray

Shortly before the event, re-cut the stems about 1–2 inches below the ribbon for fresh ends. If there are wilted flowers, snip them off rather than pulling them out.

Snipping a fresh cut off the very bottom of the bouquet's stem ends